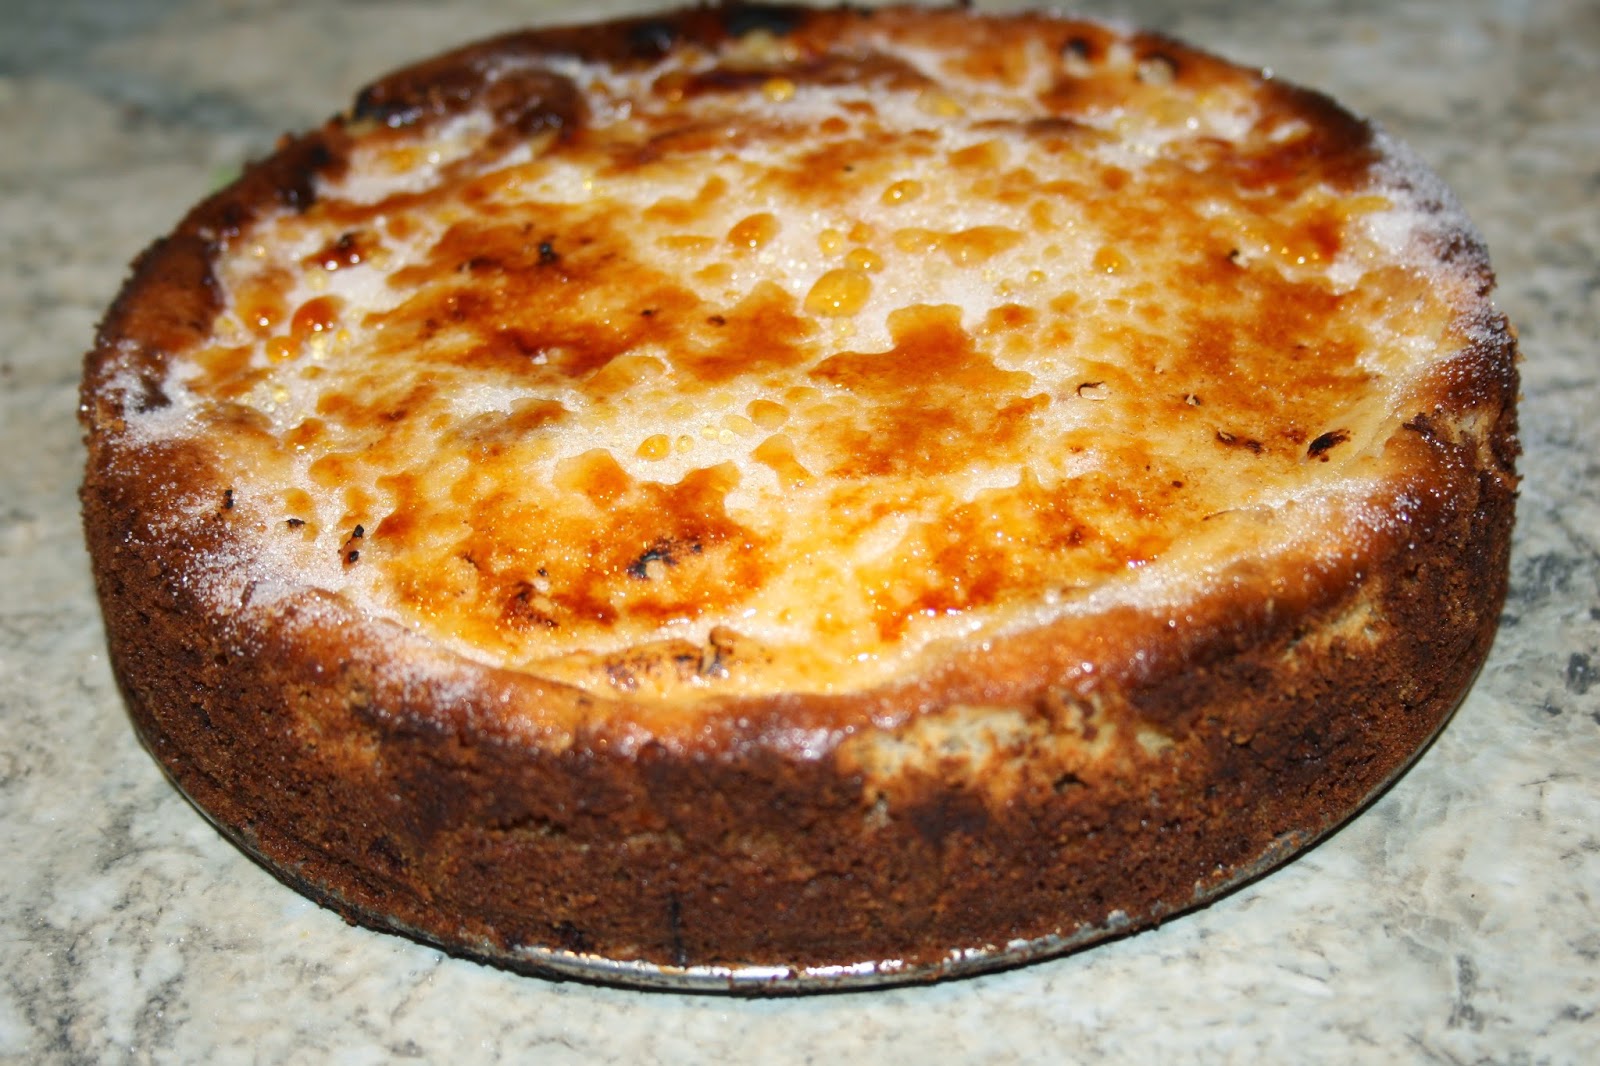
I got a cook's blowtorch for Christmas and obviously the first thing I wanted to try making with it was a creme brulee, but instead I decided to turn it into a cheesecake.
I adapted the recipe from one on an Australian website called Taste.com.au. You can make it without using a cook's blowtorch as well; it tasted delicious.
You need:
200g digestive biscuits
80g butter or marg, melted
250g soft cheese
1/4 cup caster sugar plus extra for the topping
grated rind of one orange
1/2 tsp of vanilla flavouring
2 eggs
1/2 cup condensed milk
Reduce the biscuits to crumbs either in a plastic bag using a rolling pin or in a food processor.

Mix with the melted butter and press down into a loose-bottomed cake tin. Preheat oven to 170C and in the meantime place the biscuit base in the fridge for 20 minutes. When the oven is hot, bake the base for 10 minutes then allow to cool in the tin.
Mix the cream cheese, sugar, orange rind, vanilla and condensed milk. For convenience I decided to do this in the same food processor.
Pour over the base of your cheesecake and bake in the oven for 20 minutes, then leave to cool.
To finish, sprinkle sugar generously over the top of the cheesecake. If you don't have a cook's blowtorch you can place this under the grill for a couple of minutes until the sugar has caramelised.
Instead, I used my new cook's blowtorch. I was a bit nervous about using it initially but it is very simple. You need a butane cannister, which my mum had bought me along with the blowtorch, and you fill the blowtorch with the fuel which involves little more than pushing a nozzle in (holding the blowtorch upside down - if you have one, follow the manufacturer's instructions). It has a safety catch and a trigger and when used correctly, it emits a flame - not as powerful or as scary as I was expecting, but you still need to be careful! Here you can see me holding the blowtorch ready to use on top of the cheesecake.
Carefully move the blowtorch around the cake until the whole of the top is caramelized.
Don't forget the top will be hot to the touch once you have finished!
The cheesecake tasted lovely and light and the caramelized topping was the perfect addition.
The theme for this month's Calendar Cakes, hosted by Rachel at Dollybakes and Laura at Laura Loves Cakes, is "if it makes you happy". Rachel says that can be interpreted in different ways including trying something new for the first time. This is the first time I've used my cook's blowtorch and the result definitely made me happy!


oh my word, yes... slice please... x
ReplyDeletei bet it tasted as good as it looks. and i'm glad you didn't singe your hair or the cats!!!
ReplyDelete