Showing posts with label raisins. Show all posts

Friday, 30 September 2022

The best Christmas cake recipe for beginners

This Christmas cake recipe is so good, that I was asked which posh London shop I had bought it from – which was nice because it was only the second Christmas cake I’ve ever made! The recipe is from BBC Good Food:  it’s so easy, I would recommend it for beginners. And if you are new to making Christmas cakes there might be one thing you don’t realise – yes it’s still a couple of months until Christmas, but you should make it now!

Christmas cakes are traditionally soaked in booze and you ‘feed’ the cake regularly over an extended period – so making it in October, or even earlier, is ideal. Of course, you don’t have to use alcohol and a good alternative is tea – I am also tempted this year to experiment with a flavoured tea of some kind, so that my four year old can have some of the cake. Though I am also tempted to make this recipe the same way that I did last year and just keep it out of her way, because it was amazing!

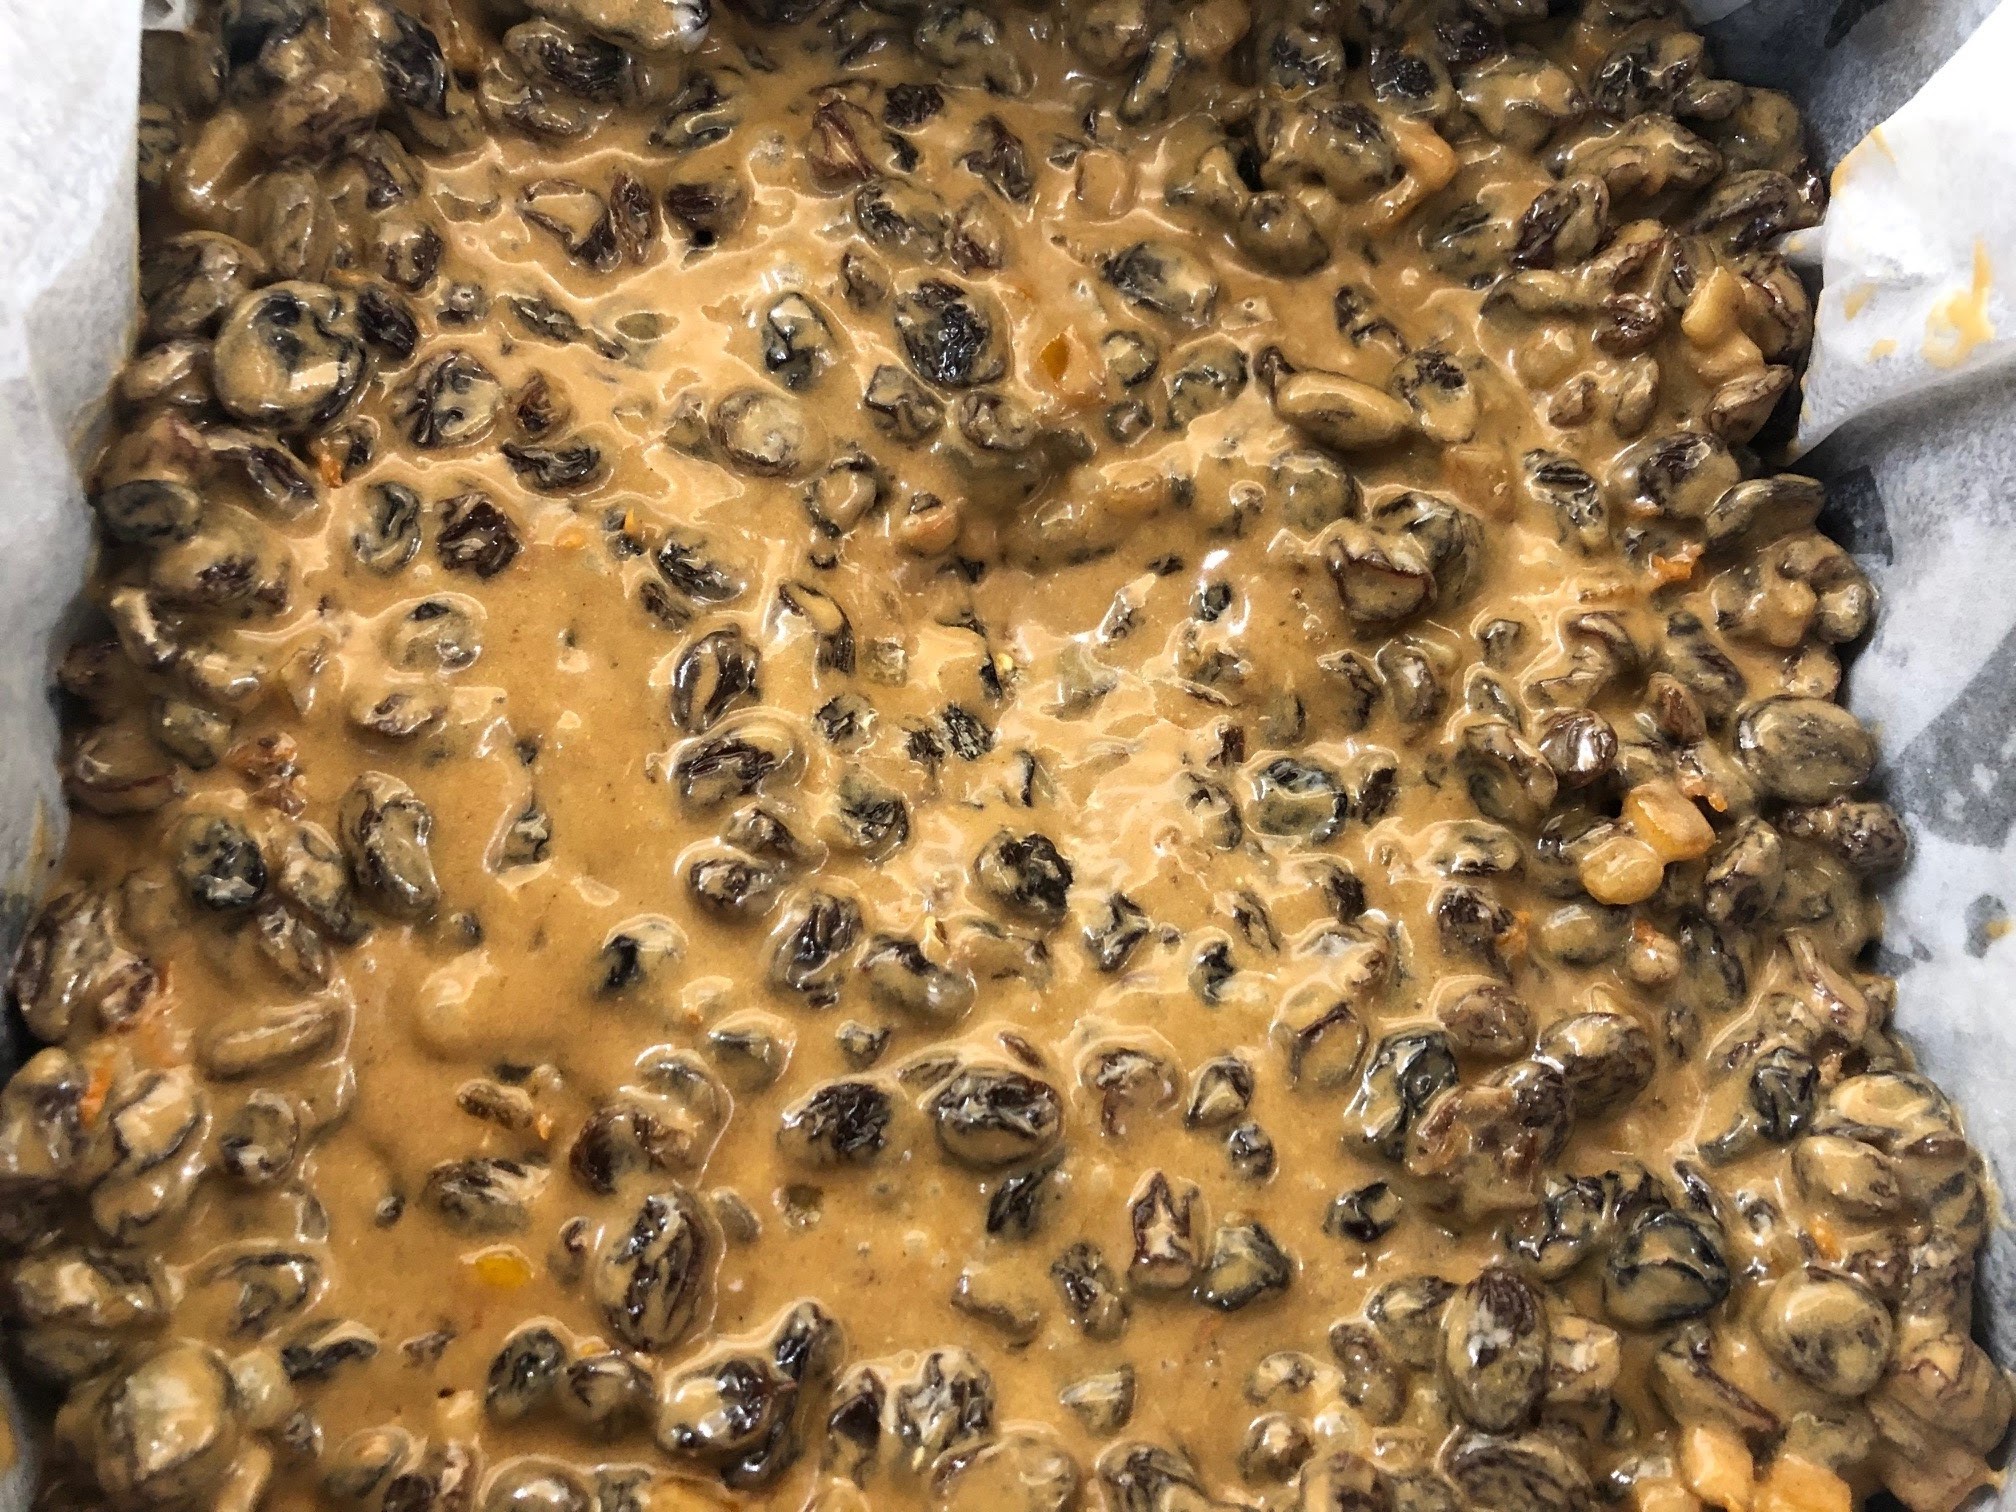
Instead of sherry, brandy or rum, I used amaretto – because I already had a bottle bought on a whim, and it’s not something I really drink. It gave the cake a lovely flavour – even though I made it quite late in the year, on 1 December (though it didn’t get eaten until January, as most of our Christmas plans in 2021 were cancelled due to our first (and only, touch wood) bout of Covid!

When it came to decorating, time was once again an issue. I had made it in a square tin so covered the cake with fondant that I then coloured gold with a packet of gold dust that came with the icing, and then cut out white fondant snowflakes using a plunger cutter to decorate the top. Everyone who tried the cake thought it was very good – myself included, and I don’t really like Christmas cake – though the best comment was from my sister, who said it was so good she assumed I had bought it, from an expensive London shop. So I think from now on this might have to be my go-to Christmas cake recipe, even if I switch up what I feed it with and how I decorate it!


Saturday, 29 October 2016

Rocky Road Halloween Graveyard Cake


If you haven't got much time for Halloween baking but want to make something as a treat, then look no further than this recipe. It would make a great centrepiece for a children's party - and goes down pretty well with adults too!

The recipe comes from the Konditor & Cook recipe book 'Deservedly Legendary Baking'. It's basically a rocky road, arranged to look like a grave site, with some bones and skeleton hands coming out of the grave!

 
You can find the recipe online here. I left out the glace cherries as I don't like them, and used large marshmallows cut in half rather than mini marshmallows. I didn't bother making the grass around the edge of the grave either.

The recipe states to use white marzipan to make the bones and gravestone but I don't even know where to get white marzipan and didn't have time to try making it myself. Instead I used white fondant.

 
It was very easy to make the bones - I just rolled some sausage shapes and used my thumb to press in the ends. I used black food colouring and a cocktail stick to write R.I.P. on the gravestone.

 
I hadn't really thought about the recipe in advance as I'd had an incredibly busy week at work but did manage to make the rocky road on Friday night so it could set overnight in the fridge. When I came to arrange and decorate it on Saturday I realised I should have made the tombstone from rice krispies. You can make a giant rice krispie cake by mixing the cereal with melted butter and melted marshmallows, and pressing it down tightly into a pan. Once it has set you can carve it into different shapes and cover it with fondant; this would be a great way of making an edible tombstone to go at the top of the grave. Of course the fondant I used is edible but I'm not sure I want to eat a giant block of icing!
 
I'm sharing this with the Food Calendar challenge, hosted by Charlotte's Lively Kitchen.

I'm also sending it to this month's Food 'n' Flix; Deb at Kahakai Kitchen has chosen Beetlejuice - the story of a couple who (spoiler alert!) wake up after an accident and find they didn't survive.


Sunday, 17 April 2016

Mini Kentish Pudding Pies


Back in the winter I was looking for a dessert that my fiancĂ© would like that didn't involve chocolate, but where I could make individual puddings rather than something big like a sticky toffee pudding. I have a book called Desserts by James Martin and found in it a recipe for a Kentish pudding pie - an old fashioned  English dish consisting of a shortcrust pastry base, filled with a set custard made of ground rice and often citrus flavoured and topped with dried fruit and ground nutmeg. It's served cold, often at Easter.

The recipe is available online here.

Here I've brought the cream and milk to the boil and added the whisked eggs and sugar. It looks a little lumpy but it got better as it thickened!


Lining the tarts with the pastry to bake them blind. I got some great little loose-bottomed tart tins from Amazon.


Adding the ground rice, nutmeg and lemon zest and juice to the filling mixture


Ready to go in the oven: the cooled pastry cases filled with the lemon and cream mixture, topped with currants


They only take a few minutes to bake and can be served hot or cold - I preferred them hot


I didn't find these particularly sweet and they certainly weren't my favourite dessert, but an interesting change and a good English classic.


I'm sharing these with Tea Time Treats, hosted by Karen at Lavender and Lovage and Janie from Hedgecombers. Their theme this month is local and regional recipes - and these originate from Kent, the "garden of England" (and not very far from Surrey where I live).


Friday, 15 May 2015

Apple Pie with Lattice Top


Before I went on holiday I went through the fridge and tried to use up anything that would go off before we went away, or throw out anything that I couldn't use but would go bad. I had a bowlful of apples on the table that I hadn't gotten around to eating and as they were already going a little soft, I knew they wouldn't be any good by the time I came back from holiday (not to mention the fact that I am going to Edinburgh for work for a couple of days as soon as I get back!).

One of my favourite things to make with apples is apple pie, and as I was recently sent this lattice pastry cutter from  a German company called MeinCupcake which also has the UK site CakeMart, which I was excited to try it out. I've often wondered how you create a perfect lattice effect in pastry on top of a pie and if it takes ages - now I know, and I can tell you that it doesn't! Read on to see what you have to do....


Apple pie with raisins, by Caroline Makes

6-8 eating apples, peeled, cored and sliced
100g caster sugar
100ml water
handful of raisins or sultanas
250g plain flour
140g cold butter, diced
1 egg, beaten

First stew the apples, by heating in a pan with the sugar and water - the water stops them sticking and you can add more or less as you like. I did this over a medium heat for about 20 minutes; it depends how soft you like your apples as mine retained the sliced shape but you can also cook them until they are soft enough to mash.


To make the pastry, rub the cubes of butter into the flour with your fingers until you have a dough. Add a couple of spoonfuls of water so you have a pliable dough. It's a good idea to put this in the fridge wrapped in clingfilm for about half an hour, which you can do while your apples are cooling. Preheat oven to 180C.


Roll out half the pastry dough on a lightly floured surface and use to line your pie dish.

Add the raisins or sultanas into the apple mixture and spoon into your pie base.


Roll out the remaining pastry and roll the lattice cutter over it. You'll see that the lines are broken by parts where the cutter doesn't cut through and the pastry stays joined together. I couldn't figure out initially what to do so had to watch a video on YouTube - carefully take each end of your pastry and pull apart and the lattice should open like a concertina!


Brush the top of the pie with beaten egg and bake in the pre-heated oven for 20-25 minutes until the top is golden brown.


Unfortunately mine didn't quite work perfectly. I blame the fact that my pastry was overworked; it took me several attempts to figure out how to do this as there were no instructions with the lattice cutter and it was only later that I resorted to YouTube. I wasn't sure whether my pastry was getting too sticky so I kept adding flour, which was probably a mistake; once I had figured out how to use the lattice cutter and tried to pull my pastry apart, it was too dry and broke in several places. So you can see the idea but it doesn't look perfect - next time I think I might try with ready made pastry!

I'm sharing this with the No Waste Food Challenge, hosted by Elizabeth's Kitchen, since I made this to use up fruit that would otherwise go to waste while I was away.


Wednesday, 10 December 2014

Less Sinful Mince Pies


I am sure I am in the minority when I say I have never eaten a mince pie - then again do Americans eat mince pies? I've never been keen on any of the ingredients of mincemeat (which for anyone who doesn't know, does not actually include meat) and so never wanted to try one. I've also been trying to lose weight for years and so it seemed pointless to try a mince pie in case I did like them and it gave me one more thing to overindulge in at Christmas!

When we had a pre-Christmas food tasting at Slimming World it seemed a good opportunity to make mince pies and try a less sinful recipe - they are not completely encased in pastry so would almost certainly be lower in calories than the shop-bought kind. In fact Slimming World says a basic standard mince pie from a supermarket is 12 syns going up to 21 syns to one from a coffee shop, whereas their own recipe for mince tarts - without full lids as shown above - are only three and a half syns each. The pastry is unsweetened which also cuts the calories but hopefully they will still taste good.

The Slimming World recipe just says to use mincemeat for the filling and I wanted to make my own. I decided that Mary Berry's recipe looked good - I trust her for something traditional like this, and I also liked the fact that this recipe didn't use suet as I knew if I bought a whole box I wouldn't use it for anything else.

I followed Mary's recipe but added some chopped French glace cherries and used cherry brandy as my liqueur as I thought that would go well together. It was really easy to make -basically just stir everything together in a pan.


To make the pastry, cut 110g butter or margarine into small cubes and work into 225g plain flour with your fingertips. Add a pinch of salt and gradually add cold water a little at a time until you have a pliable dough.

Wrap the dough in cling film and put in the fridge for half an hour.

Preheat the oven to 175C. Lightly spray some cupcake trays with Cake Release. Roll out the pastry and cut half of it into rounds with a cutter. Press into the indents in the cupcake tray. Spoon in about 1 heaped tsp of mincemeat per tart.

Use a festive cookie cutter to make a shape for the lids - I used Christmas trees.
Place the lids on top and bake for 15 minutes. Sprinkle with icing sugar if desired.


I took these to my Slimming World group but still didn't actually eat one, so I can still say I've never eaten a mince pie!

I'm hosting Alphabakes this month (it's Ros from the More Than Occasional Baker's turn again next month) and the letter is X. We are allowing Christmas recipes so I'm sending in these mince pies.


I'm also sending this to Family Foodies, hosted by Vanesther at Bangers and Mash, and on alternate months Louisa at Eat Your Veg as the theme is festive food.

 This month's Vegetable Palette challenge, hosted by Shaheen at Allotment 2 Kitchen, has as its theme Christmas fruit and veg. My homemade mincemeat uses cranberries, dried fruits, sultanas and raisins, glace cherries - all quite festive!


I'm also sharing these mince tarts with Treat Petite, hosted by Kat at the Baking Explorer and Stuart at Cakeyboi, as they also have a Christmas theme this month.

Friday, 4 October 2013

Carrot Cake


I made a carrot cake several months ago and was saving it until C came up as our letter for Alphabakes - it turns out I was waiting quite a long time! I can't take credit for the decorations unfortunately - the little carrots were made by my great friend Dr. Oetker. The cake is all my own work though!

I got the recipe from BBC Good Food - click on the link to see what ingredients you need. It is pretty simple to make as it is meant to be kind of lumpy so you can't go wrong!

Preheat the oven to 180C and grease a deep 20cm cake tin. Break the eggs into a bowl and whisk with a fork. Add the vegetable oil and whisk again.


Grate the carrot.


Place the grated carrot, raisins, walnut pieces and orange zest in a large bowl. Pour in the egg and oil mixture.


In a separate bowl, sift the flour, mixed spice, bicarbonate of soda and salt. Stir in the sugar.


Add the wet carrot mixture to the dry ingredients and mix well to combine.


Spoon the cake mixture into the prepared tin and bake for about an hour until a skewer comes out clean.


Cool in the tin for 10-15 mins then turn out and cool on a wire rack.


To make the frosting, beat the butter and icing sugar then add the cream cheese and beat again. The BBC recipe says to use caster sugar, but I prefer to use icing sugar.


Spread around the sides and on top of the cake once it has cooled.


Using a packet of chopped mixed nuts, stick handfuls of nuts around the side. It's easiest if you do this while the cake is on a large piece of greaseproof paper to catch the nuts which don't stick. Use your hands to pat the nuts on.


When I was in Germany I found a packet of Dr. Oetker marzipan carrot decorations in the supermarket. I've never seen them in the UK; has anyone else come across these? Carrots like this aren't hard to make but a ready made pack would definitely be helpful if you are pushed for time, and of course they are all exactly the same size and shape.


I placed the carrots around the top of the cake, after making sure the icing on top of the cake was smooth.


I'm sending this to Alphabakes, the blog challenge I co-host with Ros of The More Than Occasional Baker, as our letter this month is C.


I am also sending this to the One Ingredient Challenge, hosted by Laura of How To Cook Good Food, as the ingredient she has chosen this month is walnuts. The challenge is hosted in alternate months by Nazima at Franglais Kitchen.