Showing posts with label lustre spray. Show all posts

Sunday, 6 April 2014

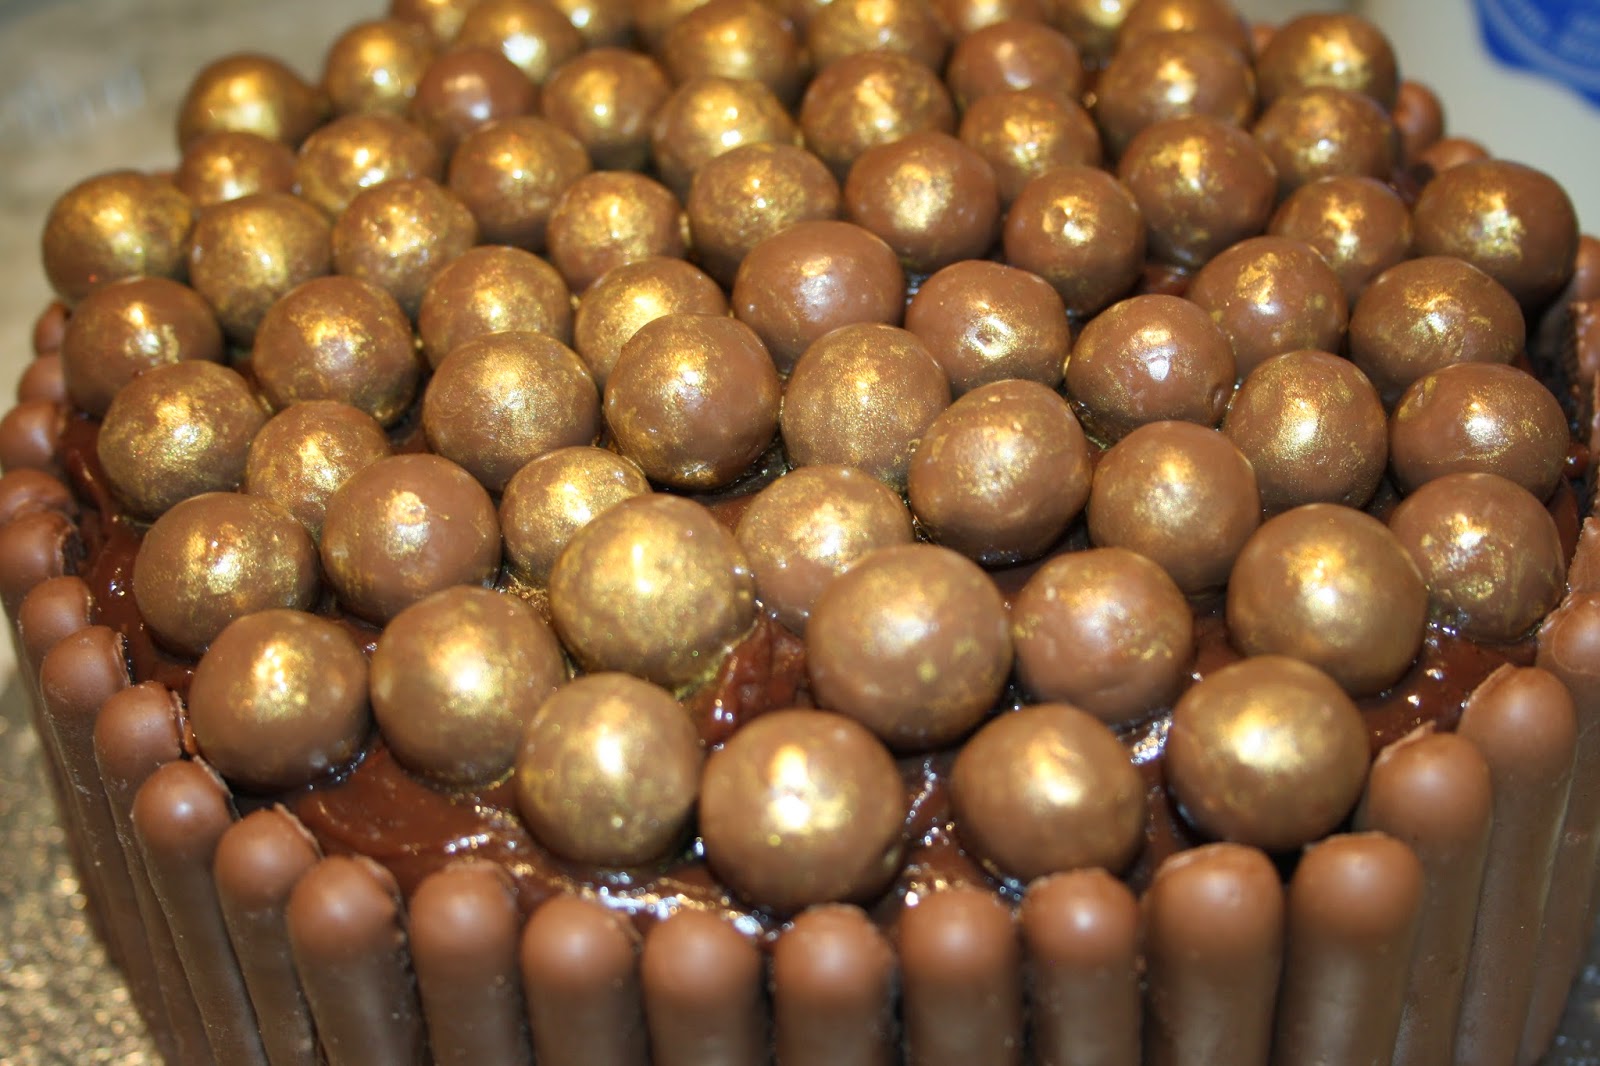
Bucket of Maltesers Chocolate Birthday Cake


chocolate malteser cake

This is the cake I made for my boyfriend's birthday last week; it was very popular with his family and also his work colleagues so I would say it was definitely a success. I was going to use a recipe for chocolate buttermilk cake from Tea With Bea (recipes from Bea's of Bloomsbury) but the carton of buttermilk I bought split on the way home so I ended up with a carrier bag full of buttermilk which had to go in the bin. I needed to make the cake that evening and had nowhere local that would stock buttermilk; I know you can make buttermilk yourself by adding a dash of lemon juice to milk, but instead I just adapted the recipe. The idea for the decoration was also my own so I guess I can say that this is an original recipe.

Bucket of Maltesers Chocolate Birthday Cake - an original recipe by Caroline Makes

You need:
225g plain chocolate
60g cocoa powder
175g butter
4 eggs
300g caster sugar
175g plain flour
1/2 tsp baking powder
150ml milk

For the buttercream:
150g margarine or butter, softened
300g icing sugar
60g chocolate, melted

For the chocolate ganache:
200g milk chocolate
100ml double cream

For the decorations:
Approximately three packs of Cadbury's chocolate fingers
Large pack (200g) maltesersl;po09
Edible gold shimmer spray e.g. from Dr. Oetker

Start by making the cake. Preheat the oven to 180C. Melt the chocolate and butter in a small pan over a medium heat, and stir until melted. Then stir in the cocoa powder until smooth.


In a separate bowl whisk the eggs and sugar.


Fold in the chocolate mixture then mix in the flour, bicarb of soda and the milk.


Grease and line a baking tin or spray with Cake Release. I used an 8-inch cake tin which meant the cake was very deep and took quite a long time to cook in the oven; you may prefer a 9 inch tin.


Bake for 1 hour in the oven, testing with a skewer. The cake rose quite a lot so I ended up slicing off some of the top.

You can see here how deep the cake is!


When the cake has cooled (first in the tin then on a cooling rack) trim the top so it is flat and cut the cake through the middle so you have two layers.


Make the buttercream: cream the margarine or softened butter with the icing sugar. Melt the chocolate in a bain marie or the microwave and mix in to the buttercream when it has cooled. Spread between the two layers of the cake.


Spray the maltesers with edible gold spray, following the instructions on the can. I think it's best to do this on newspaper or kitchen towel so you don't mess up your work surface. Leave the maltesers to dry for a few minutes.


To make the chocolate ganache, melt the chocolate in a small saucepan and add the cream; the mixture will thicken quite quickly as it cools. When it has cooled enough to put in the fridge, refrigerate for about half an hour.


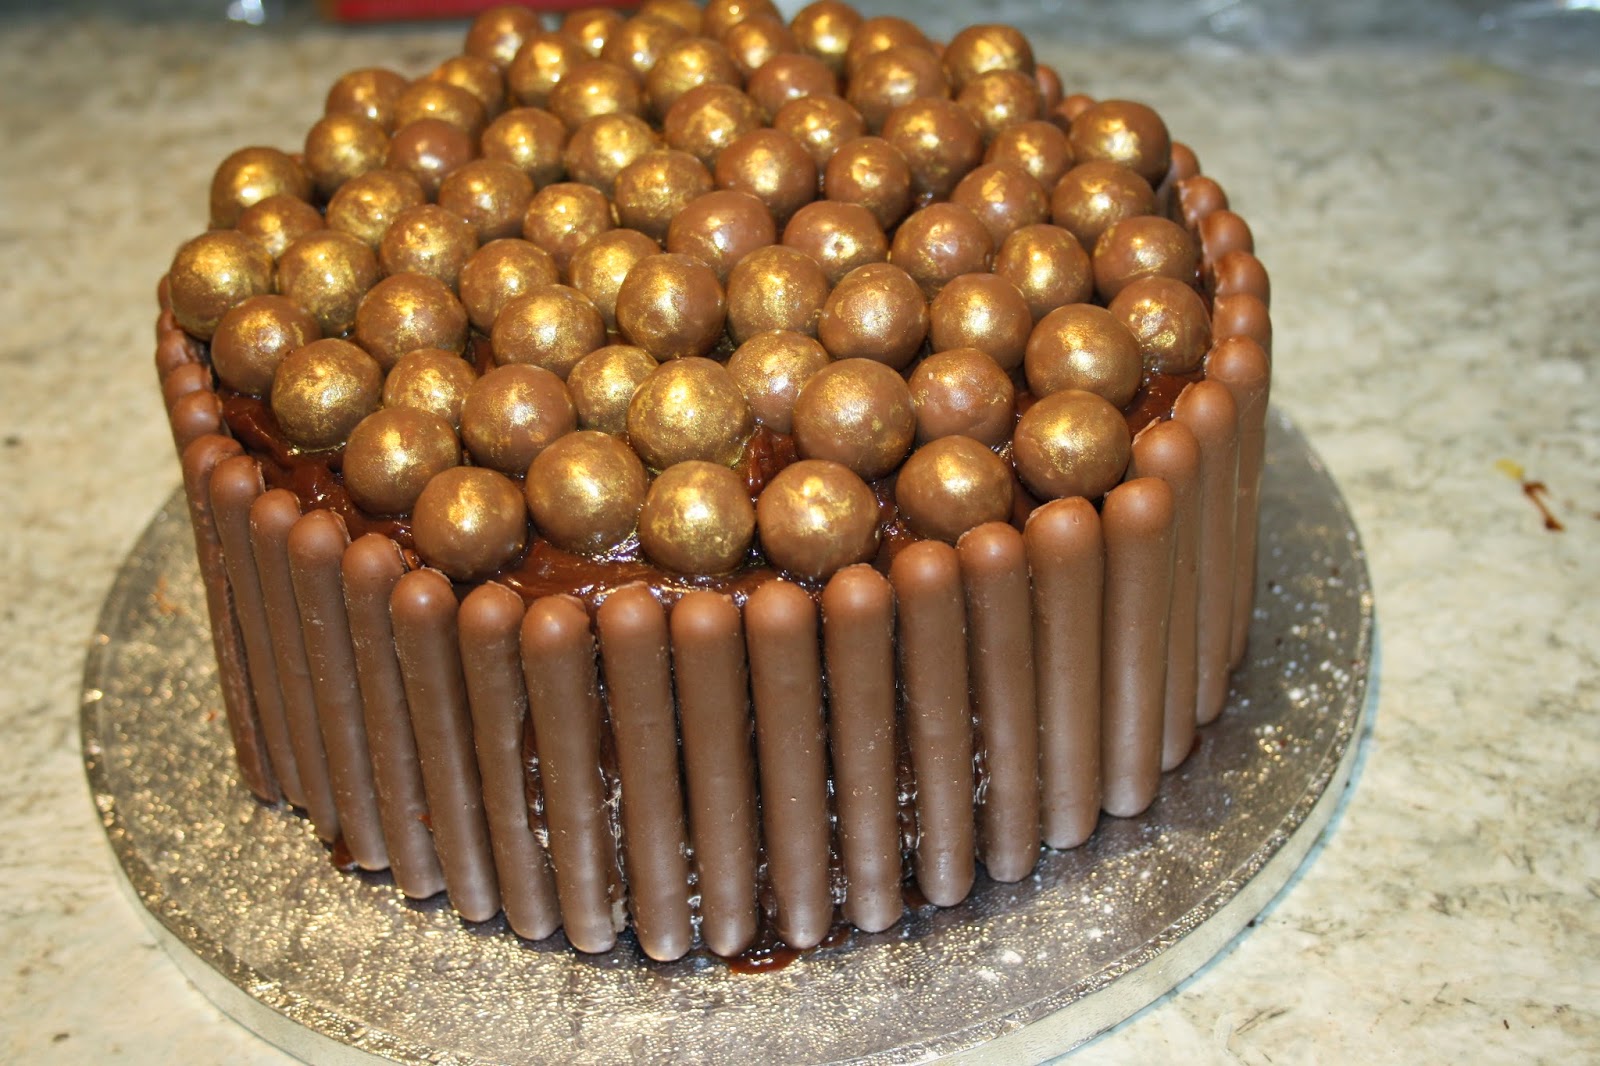
Spread the chocolate ganache around the side of the cake and stick the chocolate fingers around the cake.


Spread the rest of the chocolate ganache on top of the cake.


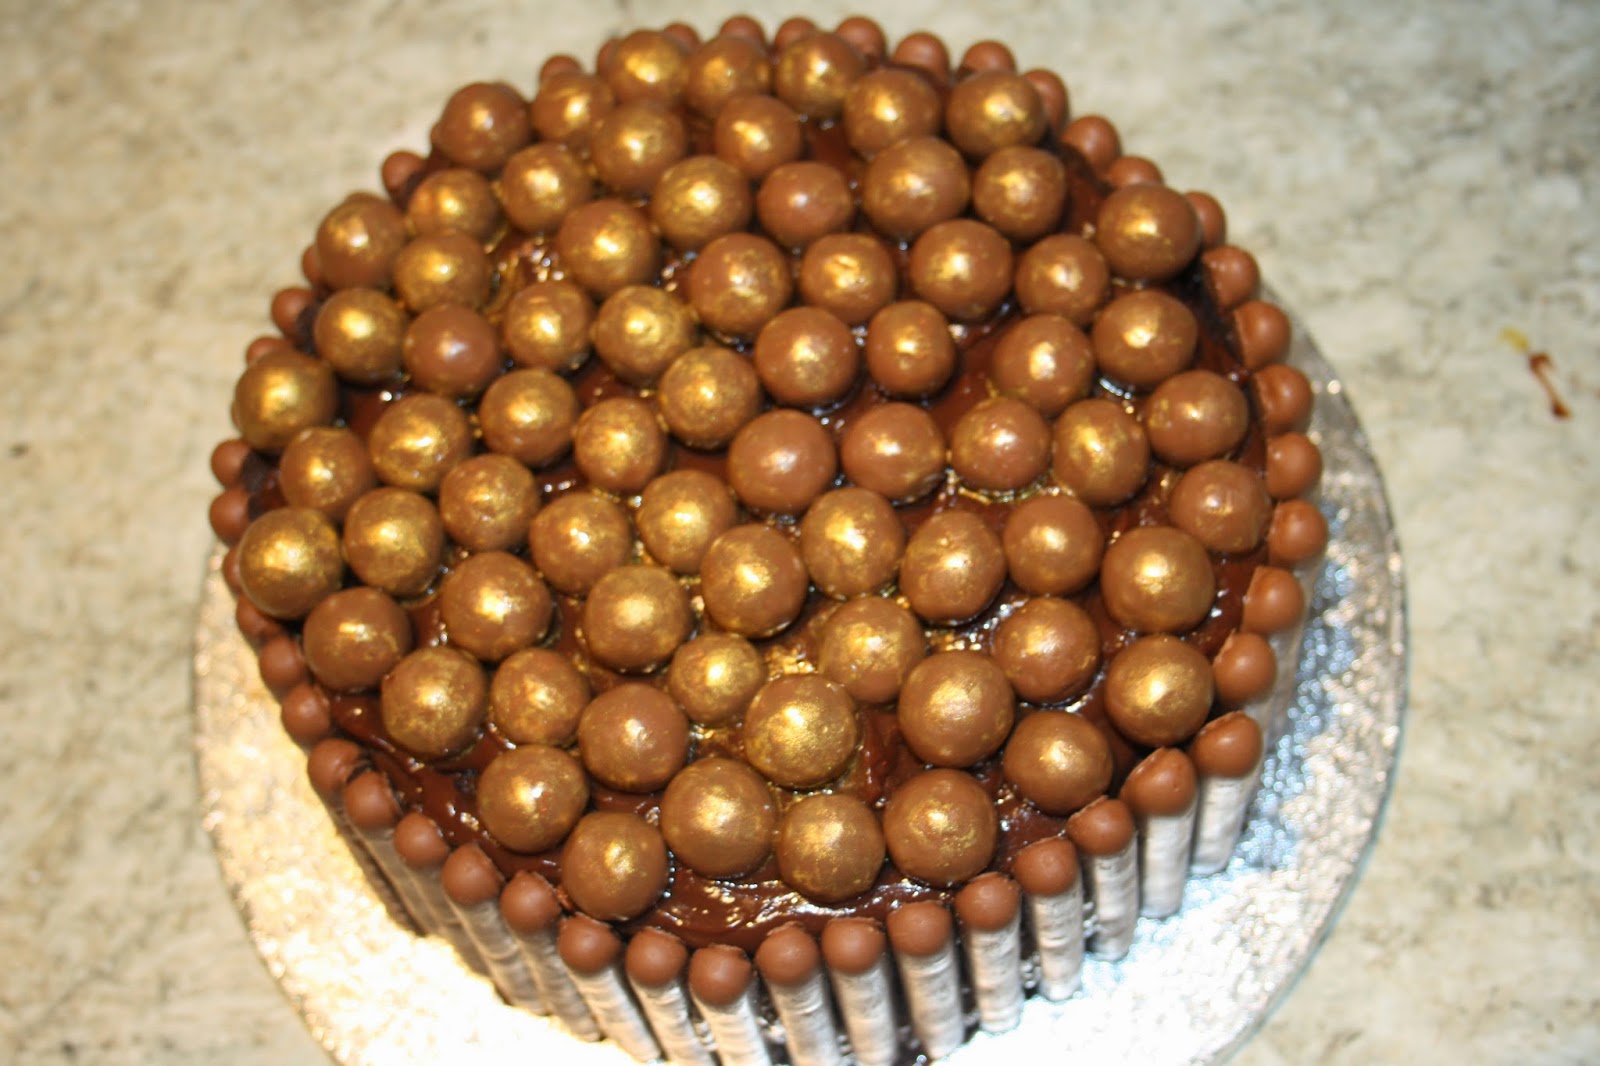
Then fill the top of the cake with the gold maltesers.

chocolate malteser cake

Here's a view of the cake from the top

chocolate malteser cake

... and from the side.
chocolate malteser cake

 Yum....


Delicious!

I think this would also be a good cake to make at Easter; the maltesers look a little bit like small eggs or you could also fill the top of the cake with mini eggs. So I am sending this to a few Easter-themed blog challenges:

Choclette's We Should Cocoa, guest-hosted by Rachel Cotterill


Love Cake, hosted by JibberJabberUK


Saturday, 2 June 2012

Diamond Jubilee Crown Cake


I wanted to bake something to celebrate the Queen's Diamond Jubilee, and my mum's birthday which was the same weekend. I had an idea of a royal crown cake and browsed a few images online until I came up with an idea and a plan. Then a week later, the Mail on Sunday magazine only went and published a 'how to make a Jubilee crown cake' guide... damn it! In the end it was a handy reference guide anyway so I can't complain.

I found this butter in the supermarket and thought it was very appropriate for some Jubilee baking.


I had decided to make a Victoria sponge for the cake itself and that happened to be the one given in the Mail on Sunday article as well, so I decided to just follow their quantities, even though I wasn't following their instructions on how to assemble the cake.

450g butter, softened
450g caster sugar
450g self-raising flour
8 eggs
2 tsp vanilla flavouring
2 tsp baking powder

Cream the butter and the sugar... have I mentioned how much I love my Kitchenaid? :-)


Add eggs

Add flour, vanilla and baking powder


Here are the first two cakes after they came out of the oven. They sank a little in the middle which was strange, but in the end quite helpful as it made them easier to stack with the cakes that rose more.

The other two cakes

So to assemble the crown, I sandwiched all four cakes together with buttercream
 Then I carved the cakes at a downward diagonal to make a shape that was wider at the top than at the bottom

I decided that purple was a suitable regal colour (and annoyingly so did the Mail on Sunday... I promise I wasn't copying their cake!) and so coloured a kilogram of sugarpaste.

I rolled out some more fondant and cut it into long strips to go up the sides and over the top of the cake. I sprayed it with silver lustre spray and left it to dry. The Mail on Sunday article recommended using gold edible lustre which you mix with vodka to make a kind of paint - but I think the spray is a lot easier! And I wanted to make mine silver rather than gold.

 Oops, a bit of stray buttercream to clean off...


The Mail on Sunday piece also suggested using jelly diamonds, which come in different colours - I wanted to stick with the silver theme so I found these edible jelly diamonds online instead. They're proper 3D diamond shape and made of a clear jelly - they were a little fiddly to use but I think they worked really well.


I also wanted to make a ball and cross to go on top of the crown, so I started by rolling out a small piece of sugarpaste...

Which I then cut into a cross like this

Out came the silver spray again!

I also bought a diamond plunger cutter and used it to cut small diamonds out of the leftover sugarpaste


I made a ball out of fondant and sprayed that gold as well, and placed the cross on top. I think it looks quite good on top of the cake (shame about the rest of the cake....!)


I stuck the jelly diamonds with some edible glue on the strips on the sides and top of the cake, and stuck the fondant diamonds I had cut out around the side.


One idea in the Mail on Sunday piece which I really liked suggested crushing a packet of Fox's glacier mints and arranging the pieces around the edge of the cake like a fur trim


But as usual, my sugarpaste skills are far from perfect... my confidence was knocked a little recently by a rather nasty comment on a previous post, so I feel like I should point out here that I'm a complete amateur, I never pretended to be perfect and as long as I am enjoying what I do, why should it matter? :-)

It didn't look as good as the one in the magazine, but then these things never do.. at least not when I'm concerned! I still quite like the way it turned out, anyway. It would have been better to use a darker purple and make the silver strips a bit wider, and as usual the fondant tore a bit when I put it over the cake so I did have to do a repair job on one side. Never mind!


As a finishing touch, I arranged the jubilee cake balls and corgi cake balls around the edge.


Happy Diamond Jubilee, and happy birthday mum!

The letter for June's Alphabakes challenge - hosted this month by Ros - is V, and since this cake is a Victoria sponge I'm making it my first entry for the month (I'm sure I'll do at least one more!)


I am also entering this in Homemade by Fleur's Blogging Jubilee Baking Competition.  The competiton is sponsored by Appliances Online and the deadline is tomorrow. I'm looking forward to seeing everyone's entries and already have spotted a few that I think are potential winners!

Monday, 21 May 2012

Not an Aston Martin car cake


I was really looking forward to this week's cake decorating class as we were making a car cake - and I'd already decided I wanted to make my boyfriend a car cake for his next birthday! Admittedly we were making a generic car, and not an Aston Martin which is what I want to make for him, but the same basic principles would apply - and I do have 11 months to perfect my technique!


A madeira cake is one of the best kinds of cake to use if you are carving or shaping. Lorna, my cake decorating class teacher, gave us her tried-and-tested recipe for a madeira cake, which turned out perfectly. What follows is pretty much the step-by-step process I followed - we were shown how to do the basic car cake in the class then I sort of freestyled and finished it off at home!


Slice equal widths off the sides of your cake as shown below, then place the pieces you have cut off on top of the cake.


You can level the top of the cake if it isn't particularly flat - in fact Lorna told us to do this. But I liked the curved effect that the raised top of the cake gave, as I didn't think the bonnet of the car should be completely flat.
Next slice through the top sections at an angle as shown - this will be the top of the car and the windscreen.


Viewed from the front

We used a round cookie cutter to cut out holes in the bottom of the cake to make the wheels. To be honest I don't think it would matter if you didn't do this but it does look quite nice. I think my wheels are a bit too close together too - but I don't own a car so that's my excuse for not knowing what one looks like ;-)

Stick the top pieces on with buttercream then cover the whole cake in buttercream. I should probably have covered it with vanilla rather than chocolate buttercream but I didn't have time to make any and used a tub of Betty Crocker - and discovered at the last minute that I only had chocolate!


Then cover in roll-out fondant. Everyone else in the class used coloured sugar paste - a few of them used red as the cars did end up looking quite cute and cartoon-y and the red ones looked a lot like the ones from the movie Cars. But I covered mine in white fondant, as I had a plan up my sleeve!

Then Lorna told us to add windows, wheels, whatever we wanted and to generally bling up our cars. I used my phone to go online (note to self: clean icing sugar off phone!) and look at pictures of my boyfriend's Aston Martin (did I mention my boyfriend has an Aston Martin? lol). I wanted to make sure that the bumper and windows were the right shape. I made them from black fondant that I had from a previous cake and had just the right amount left over (well, almost!).


Adding the bumper, window and lights at the front

To make the wheels I made a thick disc of fondant - it had to be pretty thick to fit inside the holes I had cut into the cake. This is why I don't think you necessarily need to cut holes. I also had the idea of using a piece of licorice wound round into a circle but I didn't have any and I wanted to finish this cake the same evening.
I also ran out of black sugarpaste right at the end so coloured some with black gel - but it's very hard to get a true black colour when you do that, which is why the side windows look more grey than black!

I was quite pleased with it! I think from the front it looks like a black and white police 'panda' car!


This was as far as I got in the class. As I said, I'd had an idea which was basically to spray the car silver with edible lustre spray, but I didn't think of this beforehand so didn't take my spray to the class. While I would otherwise have sprayed the car before adding the windows and bumper, I didn't want to take them off again - so I decided to cover them in foil to protect them while I sprayed the rest of the car!

Here's the spray that I used - I actually bought it for my Jubilee cake but it's good to get more use out of it! You can't quite see on the front of the can but I promise you it is called "Edible lustre spray" and says at the bottom "for cakes"!


Here it is, in all its spray-painted glory!


I tried to make a little Aston Martin logo but it was so small and quite fiddly - I think next time I would have to make the cake itself bigger so I could make the logo bigger.
I also made a registration and used an edible ink pen to write on the number plate.


The finished car - my boyfriend really liked it! He didn't get to eat any though!
We've all had rather too much cake lately so I gave it to his mum to take into her workplace, and she said it went down very well :-)

It's not a true Aston Martin shape as the bonnet needs to be longer and wider but this isn't a bad stab at my first car cake!