Showing posts with label chocolate fingers. Show all posts

Thursday, 19 May 2016

M&M chocolate birthday cake

 
When I made my fiancé this chocolate birthday cake from the Outsider Tart cookery book the quantities given were so large that it made three big layers. I didn't need the cake to be that big so I put one of the layers in the freezer, and used it a few weeks later when I wanted a cake to take into work.
The cake broke a little while it was defrosting but otherwise was absolutely fine - this is a really good cake that includes Coca-Cola in the mixture!
 

I made some chocolate buttercream which I spread on the top and around the side of the cake. It does look a bit messy at the moment, but that won't matter!


To decorate this cake I decided to use up some things I had in the cupboard. I wanted to use things up and I also didn't have much time - we'd gotten back from a weekend away in Wiltshire and I only had the evening to do it before work the next day, and as we'd been away all weekend I had a lot of other things I needed to do!
I had some white chocolate fingers left over from this anti-gravity Easter cake but not quite enough to go around the whole cake, and I couldn't find any more white ones in the supermarket. So I decided to alternate with some milk chocolate fingers which I thought actually made a nice pattern and looked really good.


I also had some M&Ms and larger peanut M&Ms I wanted to use up as they had been hanging around for a while. As they were different types I decided to use some chocolate fingers to mark out sections on top of the cake, but actually the colours all blend together and I probably didn't need to do this.


Finally I tied a ribbon around the cake, which helped to keep the chocolate fingers upright. I was really pleased with this given it was a last minute job using up cake and chocolate I already had in the house!

F is for fingers - chocolate fingers - so I'm sharing this cake with Alphabakes, the blog challenge I co-host with Ros of The More Than Occasional Baker.


As I used up things I already had in the house this was a very cost-efficient cake so I'm sharing it with Credit Crunch Munch, hosted by Michelle at Utterly Scrummy on behalf of Helen and Camilla.


Sunday, 27 March 2016

Floating Anti-Gravity Mini Egg White Chocolate and Lemon Cake


I was really pleased with this Easter cake apart from one thing - I ran out of Mini Eggs!

I had this cake in mind for a long time after I got Lakeland's pouring cake kit for Christmas. I made a white chocolate and lemon cake, filled it with buttercream and lemon curd, and stuck Cadbury's white chocolate fingers around the outside. I used the Lakeland kit to make it look as if a packet of Cadbury Mini Eggs was pouring onto the cake, and I filled the top of the cake with buttercream and Mini Eggs - or tried to until I ran out, and added a few Cadbury's Oreo mini eggs to fill in some gaps.


It would have looked better with more Mini Eggs - I bought a couple of packets in the run-up to Easter and hid them in the garage (last year my boyfriend kept finding them in the larder and eating them!) but right before the Easter weekend wondered if I might actually need some more Mini Eggs. I ordered some from Tesco along with my online grocery delivery but they ran out, and when my dad went to buy a newspaper he had a look in the corner shop he had a look but they didn't have any either. So I had to make do with what I had, but it would definitely have looked better with more Mini Eggs.

I used a recipe from Lemony Loves Baking for the white chocolate and lemon mud cake but as the quantities were for a 6 layer cake I decided it was too big, so used two thirds of the quantities for all the ingredients.


I realised I didn't have any cream so just made a standard buttercream and used it with lemon curd in the cake. The cake was really moist and you could taste both the white chocolate and the lemon which was brilliant. So a big hat tip to Anna at Lemony Loves Baking for the recipe!


As for the Lakeland pouring kit - have you come across these before? I was a bit dubious that it was really necessary to spend £9.99 on a kit which is little more than a plastic base and a couple of rods, when I made this floating Malteser cake last year just using a plastic straw.

While the equipment cost pennies, it was a bit tricky to stick the Maltesers to the straw and they kept sliding off, so I had to do just a couple at a time and then put the whole cake in the fridge to set, and then do a few more, so the whole thing took hours and I needed a lot of space in the fridge - which I had at the time as we had not long before got a new American style fridge freezer and not yet gotten rid of our built-in larder fridge.

This year however the larder fridge has been removed and turned into an actual larder with pull-out shelving and my other fridge wouldn't have the space for a large and tall cake so I was a bit worried about what I would do if I needed to put the cake in the fridge. But I needn't have worried as it worked perfectly.


To start with, you decide if you want your floating element off to one side or in the middle, and screw the base rod into the appropriate hole and cover the other holes with blanking plates. Place the cake over the rod so it goes through the cake - it worked fine but it would probably have been more sensible to do this before I filled the cake, ie put one layer of cake over the rod, then spread over the filling and put the other cake on top, rather than put the entire cake over the rod!


Then screw the other part of the rod on top - you can either have it taller or longer depending on where you put the 'joint'.


I melted some milk chocolate in the microwave and put it in the fridge until it was very thick but still spreadable. I covered the top of the cake with buttercream and added the Mini Eggs, and then put the empty packet over the top of the bent part of the rod. Then all I had to do was put a dot of chocolate onto a Mini Egg and stick it to the rod and repeat. The eggs stuck fast right away and I didn't need to put it in the fridge at all.


As the final touch I spread the remaining buttercream around the edge of the cake and stuck white chocolate fingers around the sides, and then stuck a yellow polka dot ribbon around the base. A very nice Easter cake!


I'm sharing this as yet another entry with Alphabakes, the challenge I co-host with Ros of The More Than Occasional Baker, as the letter she has chosen this month is C and this cake has plenty of white chocolate.


I'm also sharing this with Simply Eggcellent, hosted by Dom at Belleau Kitchen.


I'm sending this as well to Tea Time Treats, hosted by Jane at the Hedgecombers and Karen at Lavender and Lovage, as their theme is Easter and spring.


And finally I'm sending this to the Food Year Linkup, hosted by Charlotte's Lively Kitchen.

Food Year Linkup March 2016

Sunday, 20 December 2015

Christmas Chocolate Gingerbread House


My fiancĂ© bought me a gingerbread house kit a couple of months ago as he knew I wanted to make a gingerbread house at Christmas, so giving me the set as a Christmas gift was too late. I used it to make a haunted Halloween gingerbread house but of course was going to make a Christmas one as well, and here it is!

I used the recipe on the back of the box again to make the gingerbread:
180g butter
125g brown sugar
300g golden syrup
500g plain flour
1/4 tsp salt
1 tbsp. ground ginger
1/2 tsp bicarb of soda

Melt the butter in a pan and add the sugar and syrup. Remove from the heat, add the dry ingredients and mix to a thick dough. Roll out on a floured surface and cut out the shapes on top of pieces of baking paper.


I found it impossible to lift the shapes without distorting them after they had been rolled and cut out which is why I did it directly on to the baking paper.


Bake in the oven for about 20 minutes and leave to cool - I had to do this in several batches.

I ran out of golden syrup though and had to use Tate & Lyle's chocolate syrup to make up the quantity, which worked fine and it gave the gingerbread a slightly chocolately flavour which was ideal because I was planning to decorate it with quite a lot of chocolate!


I covered a cake board in white fondant and stuck the walls of the house together while the fondant was still soft, which helped anchor the walls. I stuck each piece together with royal icing (icing sugar mixed with egg white) and for some reason it was easier than last time to keep it stuck together; it didn't take long until the house was dry.


I spread more of the icing on the walls and the roof to fix on the decorations, and put Cadbury's chocolate fingers on the side walls to give a log cabin effect. The thatched roof effect comes from using Nestle's Matchmakers.


I wanted to keep the rest of the decorations fairly plain for a rustic log cabin effect so just made a door for the front from some more chocolate fingers.


I also baked a gingerbread snowman and Christmas tree; I decorated the snowman with some of the white royal icing and used a cocktail stick dipped in gel food colouring to draw on the nose and scarf. I then tinted the rest of the royal icing green and decorated the Christmas tree, and stood them both up in front of the house.


I'm sending this to the Food Year Linkup, hosted by Charlotte's Lively Kitchen, as Christmas is the perfect time of year for a gingerbread house!

Food Year Linkup December 2015

Sunday, 6 April 2014

Bucket of Maltesers Chocolate Birthday Cake


chocolate malteser cake

This is the cake I made for my boyfriend's birthday last week; it was very popular with his family and also his work colleagues so I would say it was definitely a success. I was going to use a recipe for chocolate buttermilk cake from Tea With Bea (recipes from Bea's of Bloomsbury) but the carton of buttermilk I bought split on the way home so I ended up with a carrier bag full of buttermilk which had to go in the bin. I needed to make the cake that evening and had nowhere local that would stock buttermilk; I know you can make buttermilk yourself by adding a dash of lemon juice to milk, but instead I just adapted the recipe. The idea for the decoration was also my own so I guess I can say that this is an original recipe.

Bucket of Maltesers Chocolate Birthday Cake - an original recipe by Caroline Makes

You need:
225g plain chocolate
60g cocoa powder
175g butter
4 eggs
300g caster sugar
175g plain flour
1/2 tsp baking powder
150ml milk

For the buttercream:
150g margarine or butter, softened
300g icing sugar
60g chocolate, melted

For the chocolate ganache:
200g milk chocolate
100ml double cream

For the decorations:
Approximately three packs of Cadbury's chocolate fingers
Large pack (200g) maltesersl;po09
Edible gold shimmer spray e.g. from Dr. Oetker

Start by making the cake. Preheat the oven to 180C. Melt the chocolate and butter in a small pan over a medium heat, and stir until melted. Then stir in the cocoa powder until smooth.


In a separate bowl whisk the eggs and sugar.


Fold in the chocolate mixture then mix in the flour, bicarb of soda and the milk.


Grease and line a baking tin or spray with Cake Release. I used an 8-inch cake tin which meant the cake was very deep and took quite a long time to cook in the oven; you may prefer a 9 inch tin.


Bake for 1 hour in the oven, testing with a skewer. The cake rose quite a lot so I ended up slicing off some of the top.

You can see here how deep the cake is!


When the cake has cooled (first in the tin then on a cooling rack) trim the top so it is flat and cut the cake through the middle so you have two layers.


Make the buttercream: cream the margarine or softened butter with the icing sugar. Melt the chocolate in a bain marie or the microwave and mix in to the buttercream when it has cooled. Spread between the two layers of the cake.


Spray the maltesers with edible gold spray, following the instructions on the can. I think it's best to do this on newspaper or kitchen towel so you don't mess up your work surface. Leave the maltesers to dry for a few minutes.


To make the chocolate ganache, melt the chocolate in a small saucepan and add the cream; the mixture will thicken quite quickly as it cools. When it has cooled enough to put in the fridge, refrigerate for about half an hour.


Spread the chocolate ganache around the side of the cake and stick the chocolate fingers around the cake.


Spread the rest of the chocolate ganache on top of the cake.


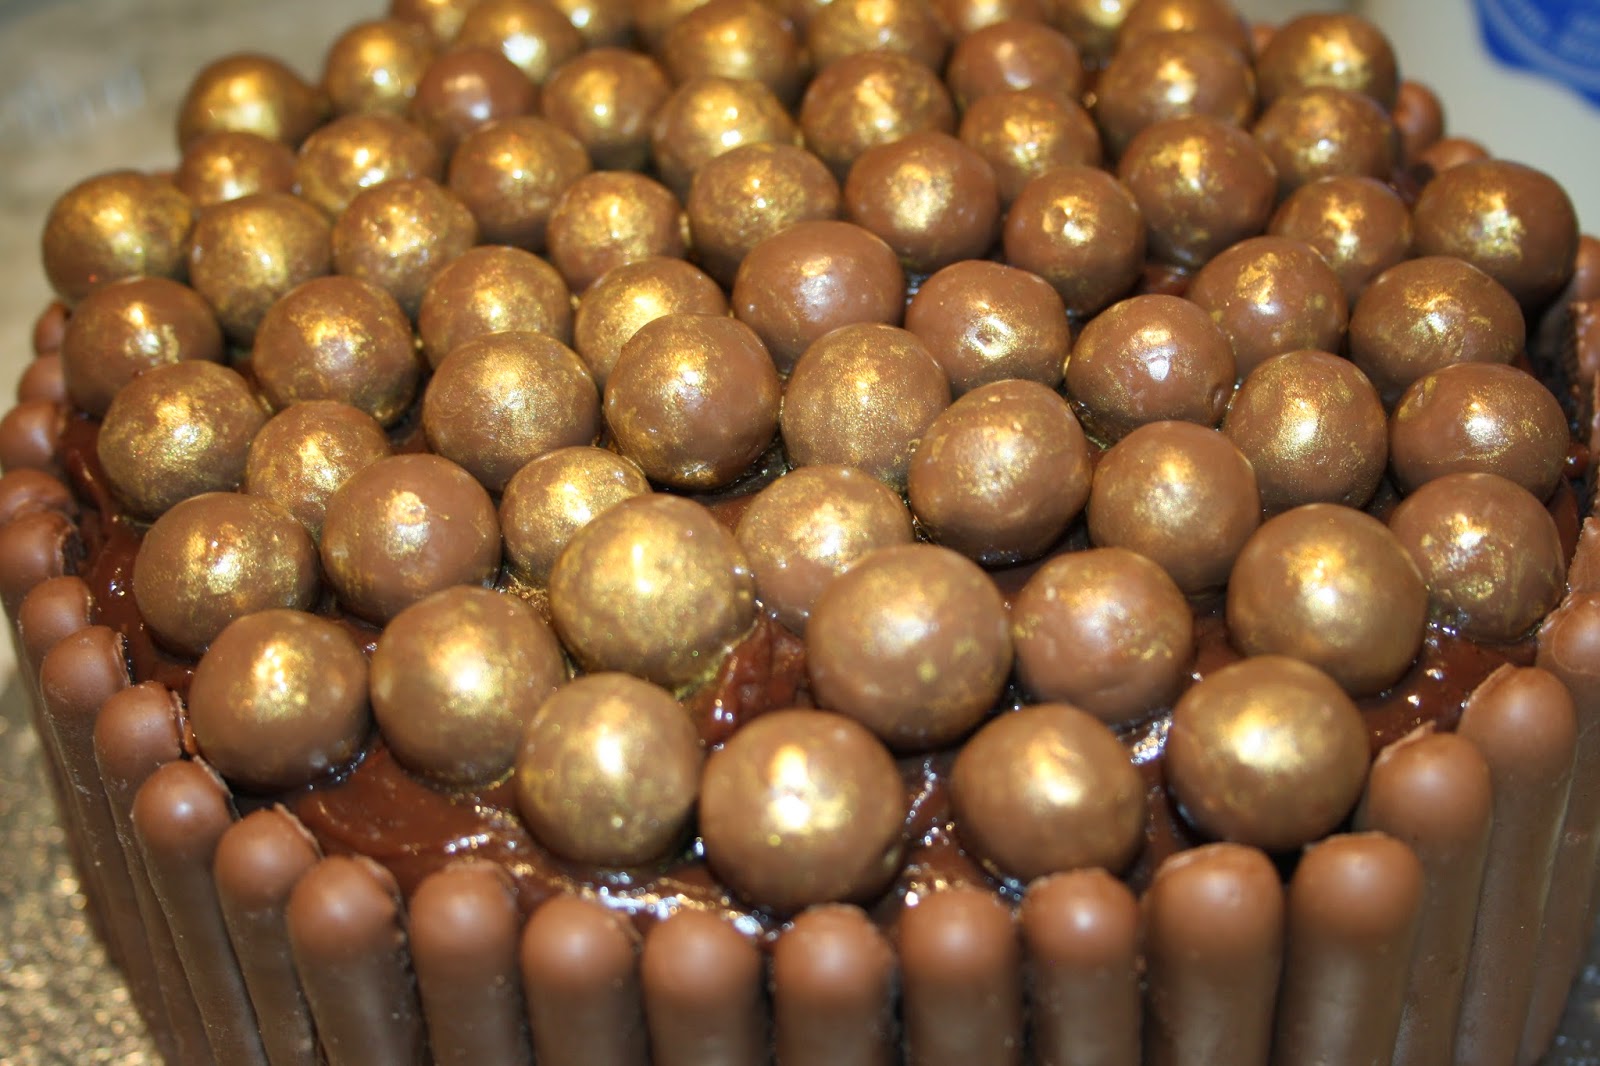
Then fill the top of the cake with the gold maltesers.

chocolate malteser cake

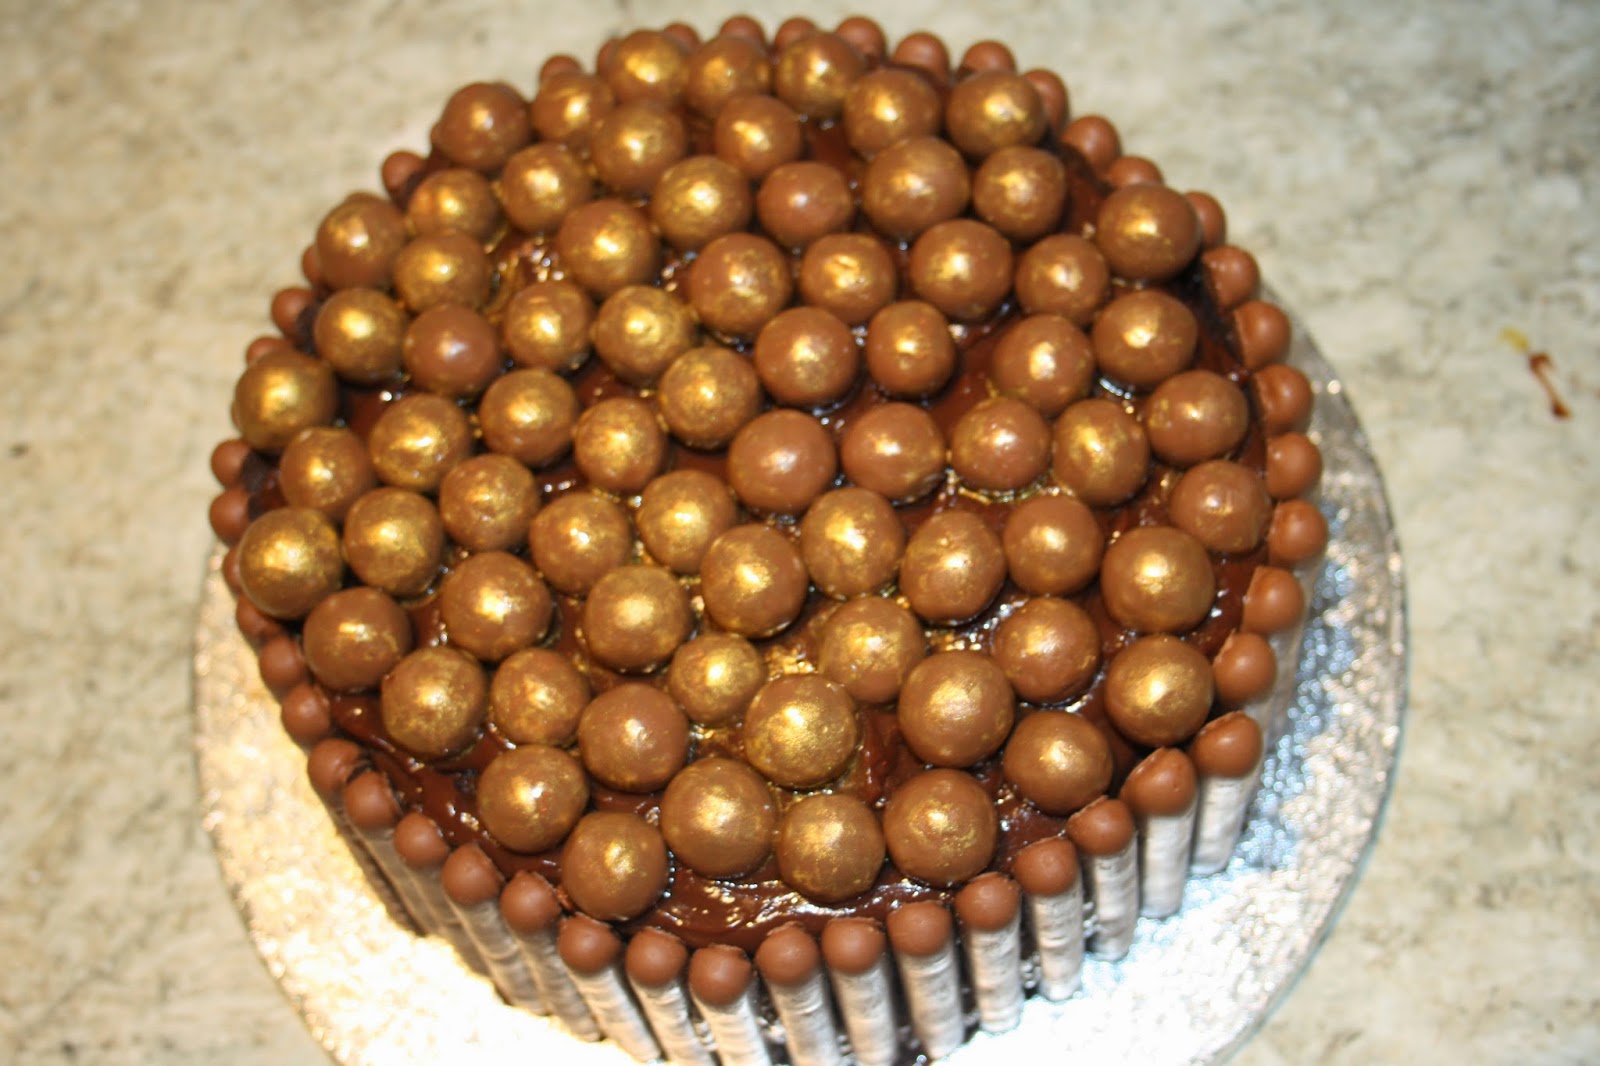
Here's a view of the cake from the top

chocolate malteser cake

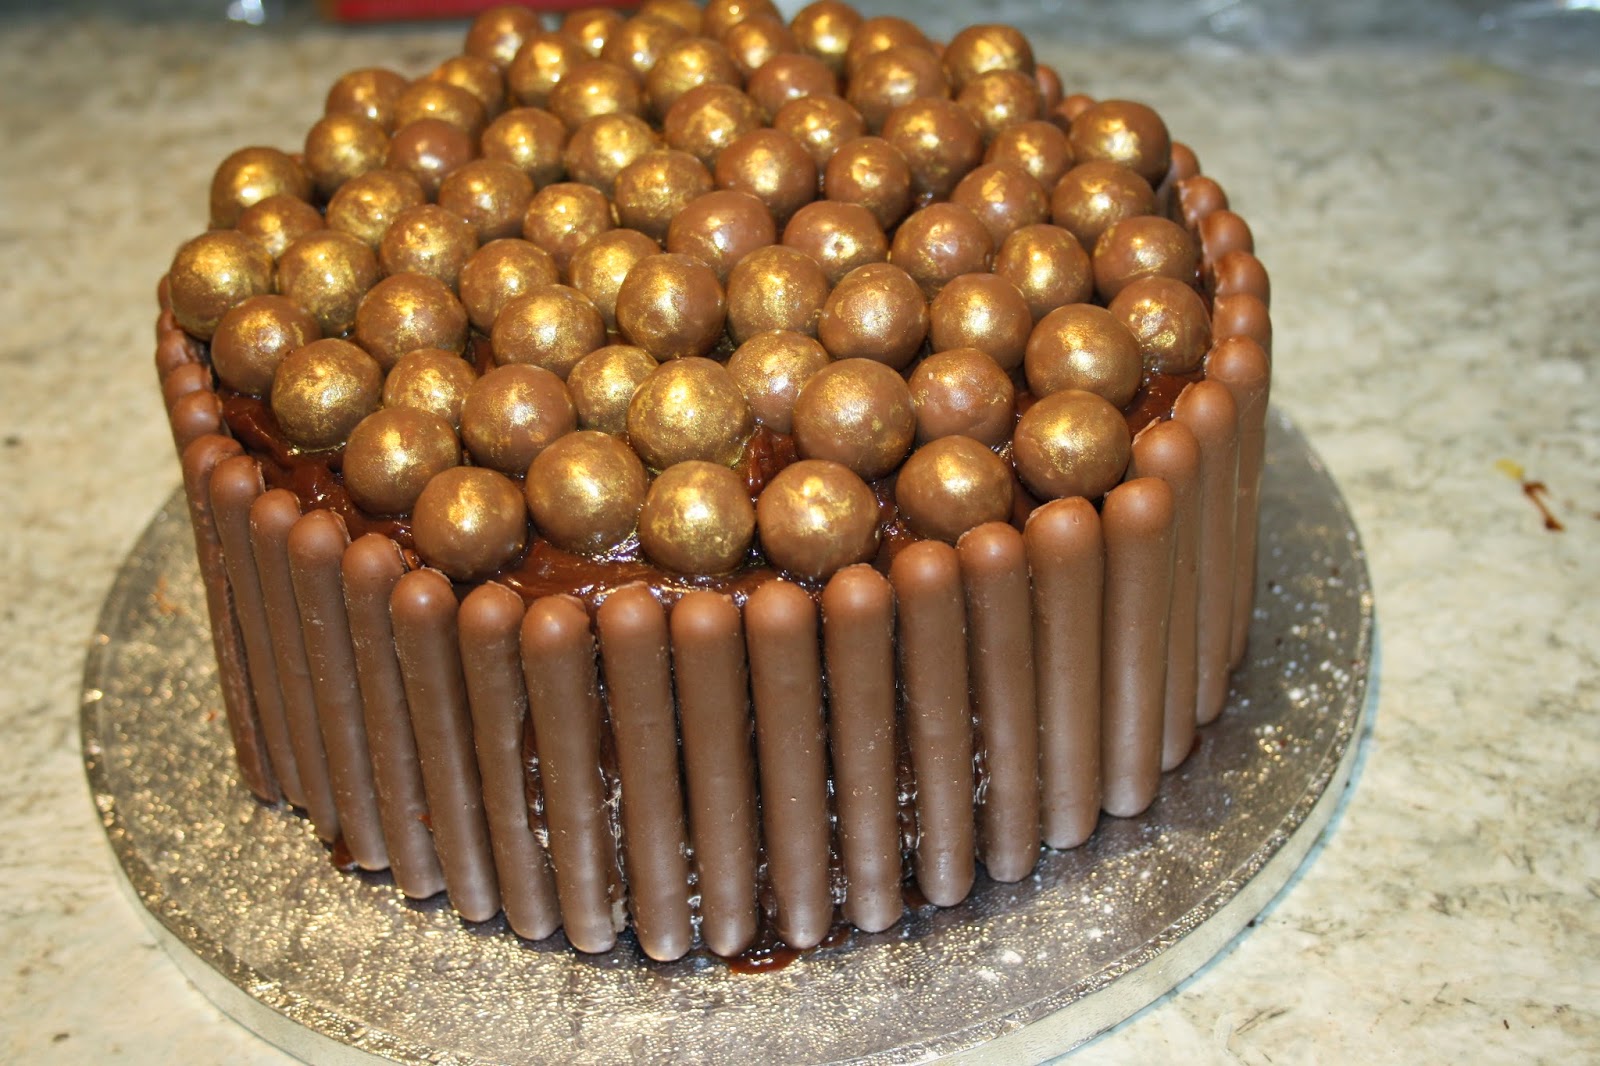
... and from the side.
chocolate malteser cake

 Yum....


Delicious!

I think this would also be a good cake to make at Easter; the maltesers look a little bit like small eggs or you could also fill the top of the cake with mini eggs. So I am sending this to a few Easter-themed blog challenges:

Choclette's We Should Cocoa, guest-hosted by Rachel Cotterill


Love Cake, hosted by JibberJabberUK