Showing posts with label ginger. Show all posts

Sunday, 22 April 2018

Sticky Ginger and Apple Flapjacks


When I was a child I remember my mum and sister making some flapjacks that were so sticky, we were picking bits of kitchen towel off them as we ate - they had been kept in a Tupperware dish lined with kitchen paper and were almost oozing with golden syrup.

I love sticky, soft flapjack, but not that soft - they need to hold together and be slightly chewy at the edges but soft and buttery in the middle. This recipe offers just that.

These were made in preparation of my sister and her partner coming to visit to meet their new niece, and even though I only made them the day before, about half the pan had been eaten before they even arrived!

The recipe is based on one from Good Housekeeping's The Baking Book; I halved the quantities but also added grated apple for extra flavour as I had a few apples that needed using up. The result was absolutely delicious and the texture was perfect.

Here's what I did:
You need:

175g butter or marg (I used Stork)
135g caster sugar
120g golden syrup
225g rolled oats
1 tsp ground ginger
2 apples, peeled and grated

Preheat oven to 175C. Grease and line a square cake tin.

Heat the butter, sugar and golden syrup in a saucepan over a gentle heat until melted. Stir in the rolled oats, ginger and apple until combined.

Spoon into the cake tin and press down gently to spread the mixture out and flatten it. Bake for 30 minutes until the edges have turned golden brown and slightly crispy; the middle will still be soft and sticky.


 I'm sharing this with Only Crumbs Remain
 and CookBlogShare.
Only Crumbs Remain Hijacked By Twins


Sunday, 22 October 2017

Mini Trick or Treat No Bake Lemon Cheesecakes for Halloween Party

 
Party food for Halloween parties is pretty easy, I think - as well as all the usual suspects (sausage rolls, sandwiches or mini burgers or quiche or whatever) and then any kind of 'scary stuff'. Here's an idea that's hopefully a little bit different.

I wanted to make something a bit different for Halloween but wasn’t quite sure what. I was in Iceland picking up a few groceries and saw these on the Halloween display: a pack of six mini plastic pumpkins, which you can fill with treats (or tricks!) and use as a game, a bit like an Easter egg hunt perhaps. They were only £1 so I bought them. I had a better use for them though – use them to serve desserts!
 
 
Of course these are plastic and can’t go in the oven but my mind went straight away to no-bake mini cheesecakes. When I got home I devised the following recipe.


I made, and served, each mini cheesecake inside the pumpkins – I went with a lemon flavour with a ginger biscuit base, but you could always do pumpkin flavour cheesecake or anything you like. I wanted to make one of the six a ‘trick’ rather than ‘treat’ and thought about putting a small plastic spider inside to surprise the recipient – but didn’t think that would go down too well with my husband!
 
Instead I decided to colour one of the cheesecake toppings green with food colouring. You could easily do that to all of them for a children’s Halloween party, but I thought it would be a nice touch when I served the mini cheesecakes in the closed pumpkins, if everyone chose their own and when one person opened theirs, they got a bit of a surprise!

Here’s the recipe I came up with

Mini no bake Halloween lemon and ginger cheesecakes - an original recipe by Caroline Cowe @Caroline Makes


Makes six mini cheesecakes

You can also make these mini cheesecakes in paper cupcake cases, or ramekins, or anything you think will work!

6 McVitie’s ginger biscuits
2 level tbsp. butter or marg, melted
175g cream cheese
60ml double cream
50g caster sugar
Juice of ½ lemon (or more to taste)
Couple of drops of green food colouring if desired


Crush the biscuits either in a food processor or with the back of a wooden spoon. Melt the butter either in a small pan over a low heat or in the microwave and stir in the crushed biscuits.

Divide between the cheesecake cases and press the biscuit mixture down using the back of a teaspoon.

In a separate bowl, beat the cheese, cream, sugar and lemon. If you want to colour all the cheesecakes, add the food colouring now.
 
Divide the cheesecake mixture between the cases. If you are only making one green, reserve a little of the cheesecake mixture in the bowl, add the food colouring then fill the final cheesecake.

Refrigerate until ready to serve.
 
 
I'm sharing these with Treat Petite, hosted by Kat the Baking Explorer and also with Cook Blog Share.

Saturday, 11 February 2017

Spiced Biscuit Bundt Cake

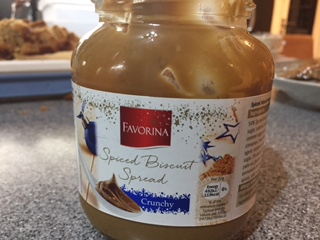
You know the little packets of biscuits you get in cafes with a cup of coffee? Often they are Lotus biscuits  - and they are so popular you can actually buy the lovely caramelised biscuit taste in a spread! I had some at home which all got eaten with a spoon used up before I could do any baking with it, and then I was in Lidl and saw they had an equivalent spread so bought some of that.

I had a look on the internet to see if I could find any suitable recipes - there are plenty on the Lotus website - but ended up making this one from Rachel McGrath aka Dollybakes.

Her cake looks amazing with a glossy icing made from the Lotus biscuit spread - but as you can see, mine doesn't look so good! I have the exact same Nordicware tin as Rachel but my cake stuck in the tin - I guess I didn't grease it enough, even though I thought I had used plenty of PME Cake Release.

It started out so well....


This is the tin I baked the mixture in - the Nordicware Heritage bundt pan


It smelt so good while it was baking in the oven, but I had too much mixture and it spilled over the top.


Here's the cake that I eventually managed to get out of the pan. The swirls on top should be sharply defined with neat crisp edges, and you can see the shape of it but a fair amount stuck in the pan!

Here's what I couldn't get out - next time I will use more grease. Has anyone else had this problem with a tin like this?


But all was not lost. Here's the spiced biscuit spread from Lidl:


I heated the jar in the microwave and poured it over the cake. It didn't look great initially...


But once the whole thing was covered it did look better.


When the cake is warm and the icing is runny it's lovely - a bit like eating a sticky toffee pudding with sauce. When the icing has cooled and set, the cake is still really moist and it tastes delicious.


This is a really good cake and recipe which is why I'm posting about it even though mine looks a bit of a disaster - hopefully you will have better luck making it than I did, and I advise trying a silicon bundt pan rather than a metal one!

Thursday, 22 December 2016

Gingerbread Cupcakes and My Cupcake Toppers


As I mentioned when I posted about my Christmas cake, I was sent a selection of cupcake toppers from My Cupcake Toppers for review. You can order icing or rice paper toppers with pictures of anything from Christmas to Eid to baby shower, Disney princesses or football teams or even Breaking Bad, the TV show. Prices start at £1.20 for 12 standard rice paper cupcake toppers up to £6 for ones made of icing. As well as that, you can design your own for a bargain price of £2.70 for the smallest size - that's actually a very appealing idea! They even have an in-house design service if you are short of inspiration.

I decided to order a selection to try out the different rice papers and icing they are printed on. As you might have seen, I ordered a large 7.5 inch circular cake topper printed onto a thin sheet of edible icing, to go on top of my Christmas cake. I cut it out, removed the plastic backing and simply placed it on top of the cake - perfect!

I then ordered a set of 12 Christmas designs for cupcakes made of icing, plus some Family Guy toppers (I love that show) on premium rice paper, and some Lego Star Wars on regular rice paper. In both cases the rice paper was pre-cut which only costs a fraction more, but gives a much more professional finish than taking a pair of scissors to a sheet of rice paper yourself.

Did you know the reason why rice paper toppers sometimes curl up when you put them on cupcakes? It's to do with the moisture in the icing, so you are better off waiting until the icing has hardened but is still ever so slightly soft, so you can press on the topper.

What's interesting though that is when I (*accidentally* - ahem) put the rice paper toppers on while the icing was still too wet, the standard rice paper topper did curl at the edges while the premium topper - which is noticeably thicker - didn't.

 
I was then able to flatten the Lego Star Wars topper when the icing had set a bit. Both toppers were larger than I was expecting and worked really nicely, and didn't taste of a lot but I wasn't expecting them to!
 

The Lego Star Wars cupcake is just the thing to eat when you are opening the next window on your Lego Star Wars advent calendar!


Finally I had some trouble when it came to the icing toppers. The icing discs were printed on a plastic sheet but unlike with the large cake topper I couldn't peel off the backing plastic. I spent ages picking at the edges wondering why they weren't coming off, then decided to contact the company. The My Cupcake Toppers website advises contacting them via Facebook which I did and I was pleasantly surprised - given it was in the evening - to have a reply just a couple of minutes later.

They told me what to do and also informed me that the instructions were on their website and on the back of the delivery note. I had already looked at the FAQ on their website and went to the 'cutting' section but this is about buying the topper discs cut out already; I totally missed the 'instructions' section further down, and I would never have thought to take the address label off the front of the envelope and check for something printed on the back!

The instructions, once I had them, were easy to follow even if they did surprise me, as I've never done this before. You need to dry them out in a cool oven (50-60 degrees C) for 5-10 minutes and they will peel off.

I really liked these because they stay stiff and flat and look really professional. They are quite big, taste nicer than the rice paper and I really liked the set of Christmas designs that I chose.

So here is the recipe for the gingerbread cupcakes themselves, which comes from a book called Celebration Cupcakes, byTamara Jane.

To make about 18-20 large cupcakes, you need:
300g plain flour
1/4 tsp baking soda
1/2 tsp salt
2 tbsp. ground ginger
1/2 tsp mixed spice
150g butter, softened
400g caster sugar
4 eggs
1 tsp vanilla essence
100g finely chopped crystallised ginger
160ml sour cream

For the buttercream:
250g butter, softened
500g icing sugar
1 tsp vanilla essence


Preheat oven to 170C, place cupcake cases in two muffin tins.

Sift together the flour, baking soda, salt, ground ginger and mixed spice.

In another bowl cream the butter and the sugar and mix in the sugar. Beat until light and fluffy.

Add the eggs, beating the mixture after you add each one, then fold in half the dry ingredient, half the chopped ginger and sour cream, and mix well. Then fold in the rest of the flour, ginger and cream.

Spoon the mixture into the cupcake cases and bake for 20 minutes. Allow to cool.

To make the buttercream, beat the butter and the icing sugar. Add the vanilla essence and mix in. Using a piping bag and a star nozzle, pipe swirls onto the top of the cupcakes. Top with cupcake toppers as shown if desired.


I'm sharing these with Treat Petite, hosted by Kat, the Baking Explorer, and Cakeyboi Stuart.
 
 
Thanks to My Cupcake Toppers for the products to review.

Tuesday, 28 April 2015

Mini Ginger Madeleines

I've always associated madeleines with Proust's 'A la recherché du temps perdu' (I studied French literature at university) but have never actually eaten let alone made them before Madeleines are a French cake made with a genoise batter, making them lighter than other cakes, and are baked in special shell-shaped moulds. I was offered a selection of products to review by Cake Mart, and spotted they had this madeleine tin which is a very pretty piece of equipment.

Madeleines often have quite delicate flavours but I thought it would be interesting to see how they fared with a more robust flavour and a bit of a kick. I came across a recipe using cardamom and was sure I had some ground cardamom in my cupboard but couldn't locate it - and when I came across the ginger I decided that might work instead!


I based it on a recipe from Martha Stewart but changed the flavour and left off the glaze as I was in a hurry - I made these in the morning when I was driving down to Hampshire (my first time doing a 'proper' drive other than locally!) that day to see friends. Next time I make madeleines, which I will do now I have this lovely tin, I will try a glaze!


Mini ginger madeleines - an original recipe by Caroline Makes

Makes about 30 mini madeleines
You need:
1/4 cup softened butter
1 tbsp. honey
1 tsp vanilla flavouring
3/4 cup self-raising flour
1/4 cup caster sugar
2 eggs
1 tsp ground ginger

Preheat the oven to 175C. Melt the butter in a small pan over a low heat and add the honey and vanilla. Set to one side to cool.

Mix the sugar and eggs with an electric mixer in a large mixing bowl then sift the flour. Add the ginger and fold in.

Pour in the melted butter and fold in.


Grease the madeleine pan - I used Cake Release - and carefully spoon in the mixture so it fills about 3/4 of each mould - this only took about 1 heaped teaspoon of mixture for each one.


Bake in the oven for 8-10 minutes - they don't take long as they are so small. Turn out onto a wire rack to cool and grease the pan again (being careful as it is hot) ready for the next batch.


I packaged these in pretty boxes I'd bought from Poundland to give to my friends as gifts.


The pan makes them come out perfectly - it's a robust metal tin that is easy to clean and should last for years so I will be experimenting with some more flavours!

Thanks to Cake Mart for sending the madeleine pan for review.

Saturday, 6 December 2014

Dairy-free Vegan Pumpkin Spice Cheesecake


I had in my head that I would host a Thanksgiving dinner this year and invite all my uni friends, as we all have a lot to be thankful for - in my case not least the fact that my boyfriend and I have bought our dream home, and none of my friends have been over to visit yet.

I had planned a whole menu and one by one they declined or dropped out, until only a couple of people came in the end. By then I had already started making ahead some of the food so we had three desserts between six people! All the better to give everyone a choice...

One of my best friends is vegan so I usually make two desserts, one of them vegan. But this time I thought it would be nice for her to have a choice of what to eat so I made all three desserts vegan! In keeping with the Thanksgiving spirit I wanted to make something using pumpkin.

I recently bought a new book called Sweet Vegan by Emily Mainquist, to give me some inspiration for dairy-free desserts. There was a recipe for pumpkin pie but I chose instead a vanilla pumpkin cheesecake with a gingernut biscuit crust. Luckily gingernut biscuits are vegan!

Many of the recipes in this book use evaporated cane juice, which I'd never heard of. I discovered that it is a sugar substitute - and I thought caster sugar was fine for vegans, but apparently that isn't always the case. The website Vegan Connection states that: "Some refined sugars use bone charcoal as a decolourant. In the UK Tate and Lyle and Billingtons sugars are free of animal substances. British Sugar, trading as Silver Spoon (the largest UK supplier) state that their white sugar is vegan but they cannot guarantee their brown sugars as some bone charcoal may be used by their suppliers. No data is presently available concerning sugar in other countries."

So I think I am OK to continue using caster sugar but it's worth knowing there are alternatives. However, I couldn't get hold of any evaporated cane juice and instead decided to use agave nectar. I decided afterwards that was a mistake as it is extremely sweet (I could have cut down on the quantity) and as it's a thick liquid like honey, that may have changed the consistency of the cake - next time I would just use caster sugar. I did actually use a mix of caster sugar and agave nectar in the end as I realised the latter might make it too runny so I will give the recipe that I used here and you can let me know what you think or if you decided to try something else.

This recipe also introduced me to egg replacer, which I got very easily from Ocado. There are plenty of other ingredients you can use as a binder in vegan recipes, such as apple sauce, but this egg replacer froths up and thickens really well.

The recipe suggests to make a vanilla cheesecake mix and a pumpkin cheesecake mix and swirl the two together but I decided to make my whole cheesecake pumpkin flavour. I also left out the pecan nuts in the base as not everyone likes nuts, and I used a smaller quantity of the biscuits as the packet I had was 250g rather than 290g. So with the proviso about trying your own sugar substitute (or using caster sugar rather than the agave nectar) here's what I did:

You need:
250g packet gingernut biscuits
3 tbsp. melted vegan butter substitute eg Pure
700g silken tofu
100ml agave nectar
50g caster sugar
1 tsp vanilla flavouring
4 tsp egg replacer, mixed with 6 tbsp. water
250g canned pumpkin puree
2 tsp ground cinnamon
dairy-free white chocolate buttons to decorate


Preheat oven to 150C. Crush the biscuits in a food processor and mix with the melted butter substitute then press down into the bottom of a 9-inch loose-bottomed cake tin.


Beat the tofu with the agave nectar and sugar then add the vanilla and the blended egg replacer.


in the pumpkin puree and cinnamon and spoon the mixture onto the biscuit base.


Bake in the oven for 1 hour until set then leave to cool in the tin. To serve, remove from the tin and decorate with dairy-free white chocolate buttons.


The cheesecake was very nice and one of my (non-vegan) friends said it was the nicer of the two desserts I'd made. The texture is softer and a little grainier somehow than a 'normal' cheesecake and I was worried it would be overly sweet from the agave nectar but in fact it was just right. The ginger biscuit base was the best part in my opinion and now I know that the ginger biscuits I used are vegan I will have to incorporate them into another dessert!


Friday, 25 April 2014

Honey Mustard and Blackcurrant Cheesecakes


 mustard cheesecake blackcurrant coulis  mustard blackcurrant cheesecake

 Mustard producer Maille asked me to take part in a challenge to come up with an original recipe using at least one of their ingredients, and they sent me a list of products they could send me. I immediately had an idea - I've made plenty of stews and casseroles using mustard, or could put mustard in barbecue sauce or to coat a joint of meat, but I've never made a dessert using mustard. Because that sounds crazy, right? I don't know - if you can put candied bacon in brownies a la Nigella, why can't you put mustard in a pudding?

One of the products Maille was offering was a blend of vinegar and mango puree which I thought would be brilliant in a cheesecake. Unfortunately the company had already run out of this product as they were only sending out a certain amount of each one for this challenge, so I had to rethink. I still wanted to make a cheesecake and knew that Maille's Mustard with Honey was what I wanted- I always have a jar in my fridge and it is quite sweet, with a bit of a kick - and then I saw they also had a Red Wine Vinegar with Dijon Blackcurrant Liqueur I knew I had the flavours for my cheesecake. 

Honey Mustard and Blackcurrant Cheesecakes - two ways
An original recipe by Caroline Makes

Makes six individual cheesecakes
For the base:
100g ginger biscuits such as Ginger Nuts
2 tbsp butter, melted
2 tbsp Maille Mustard with Honey

For the filling:
250g cream cheese
125g caster sugar
2 eggs
1 and 1/2 tbsp Maille Mustard with Honey
290g tin blackcurrants in light syrup (reserve the syrup)

For the coulis:
2 tbsp Maille Red Wine Vinegar with Dijon Blackcurrant Liqueur
3 tbsp syrup from the tin of blackcurrants
4 tbsp icing sugar

Preheat oven to 170C. To make the base, blitz the biscuits in a food processor or place in a plastic food bag and smash with a rolling pin. Melt the butter in a small pan (this will only take 1-2 minutes over a low to medium heat) and stir in to the crushed biscuits. Then stir in the Maille Mustard with Honey.

Press the biscuit mixture into the base of a large muffin tin. It is easiest to use a silicon tray as you can just turn the tray inside out to get the cheesecakes out later, but a metal tin would also work.

To make the cheesecake, using an electric hand mixer, mix together the cream cheese, caster sugar and eggs then mix in the Maille Mustard with Honey. 

There are two ways you can make the filling for the cheesecake and I recommend doing both. For the first flavour, pour half of the cheesecake mixture that you have just made into three of the muffin holes onto the biscuit base, reserving the other half of the mixture.

Now drain the tin of blackcurrants, reserving the juice, and stir the blackcurrants into the other half of the cheesecake mixture, reserving a couple of spoonfuls for decoration later. Carefully pour or spoon this into the remaining muffin cases onto the cheesecake bases.

Bake in the oven for 15-20 minutes until set.

Meanwhile make the coulis. Put the Maille Red Wine Vinegar with Dijon Blackcurrant Liqueur, 3 tbsp of the reserved syrup from the tin of blackcurrants and the icing sugar in a small pan. Bring to the boil, stirring, and simmer for 5 minutes until thickened. Allow to cool.

When the cheesecakes have come out of the oven, allow to cool and then refrigerate for at least an hour. To serve, place a few of the reserved blackcurrants on top of a couple of the cheesecakes and drizzle them all with the coulis.

I invented this recipe without having any idea what it would taste like and I absolutely loved it. The mustard provided a subtle kick but the sweetness of the honey mustard worked perfectly with the biscuit base and creamy cheesecake filling. I would never have thought vinegar would work on top of a dessert but by making the vinegar into a coulis and playing up the blackcurrant flavour, this was the perfect topping for the cheesecakes.


Biscuit base

Pressing the base into the silicon muffin mould


Cheesecake filling

Pouring into the moulds


Tin of blackcurrants, with the juice drained


Blackcurrants mixed into the cheesecake and poured into the silicon moulds


After baking in the oven


More baked cheesecakes


Maille Red Wine Vinegar with Dijon Blackcurrant Liqueur

Making the coulis


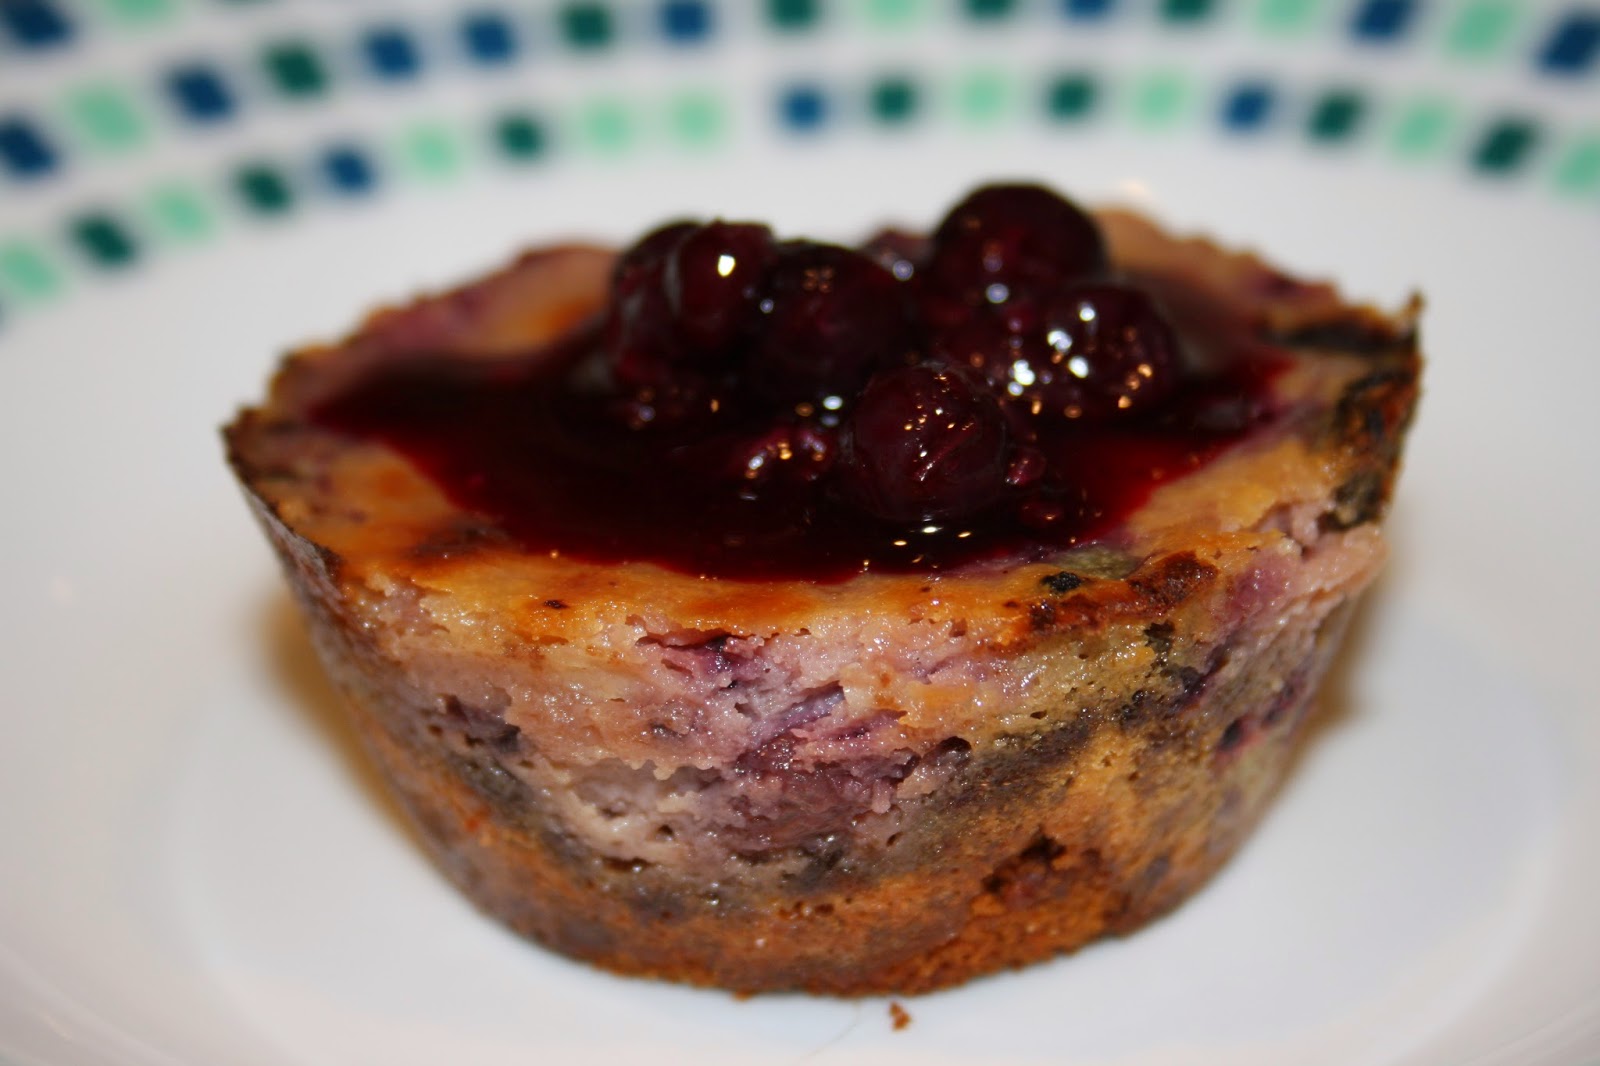
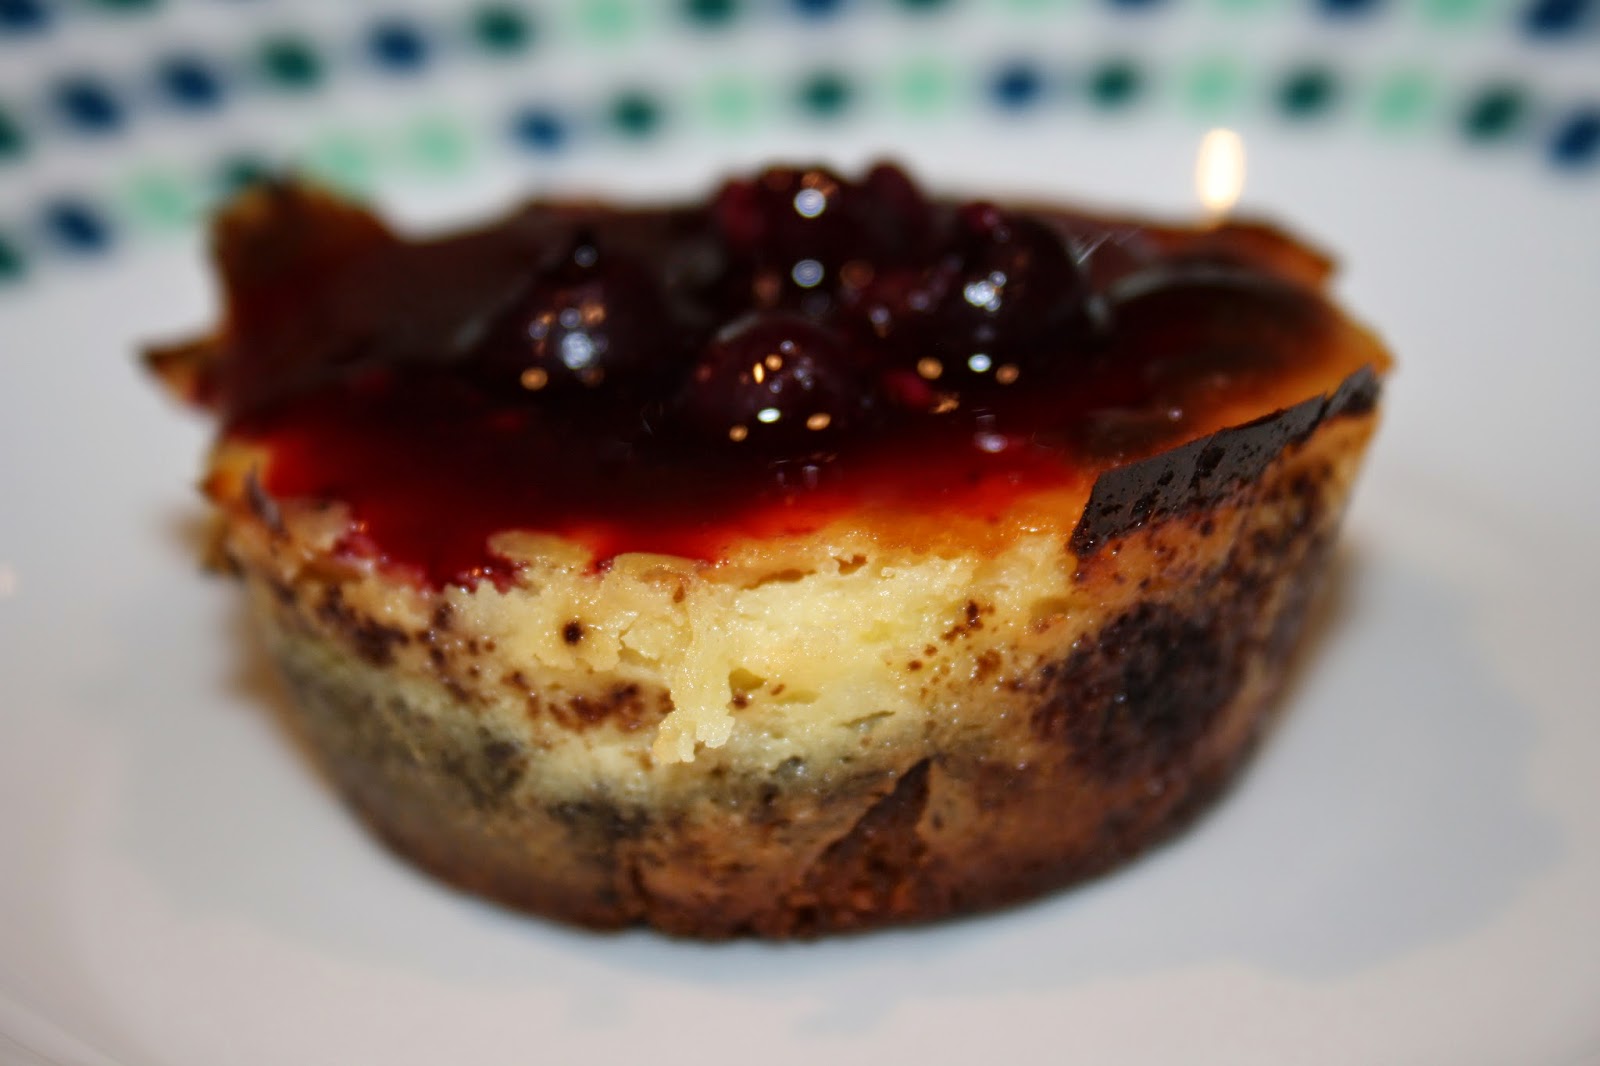
Cheesecake with blackcurrant topping

mustard blackcurrant cheesecake

Mustard cheesecake drizzled with blackcurrant vinegar coulis

mustard blackcurrant cheesecake

Blackcurrant mustard cheesecake with blackcurrant vinegar topping

mustard blackcurrant cheesecake

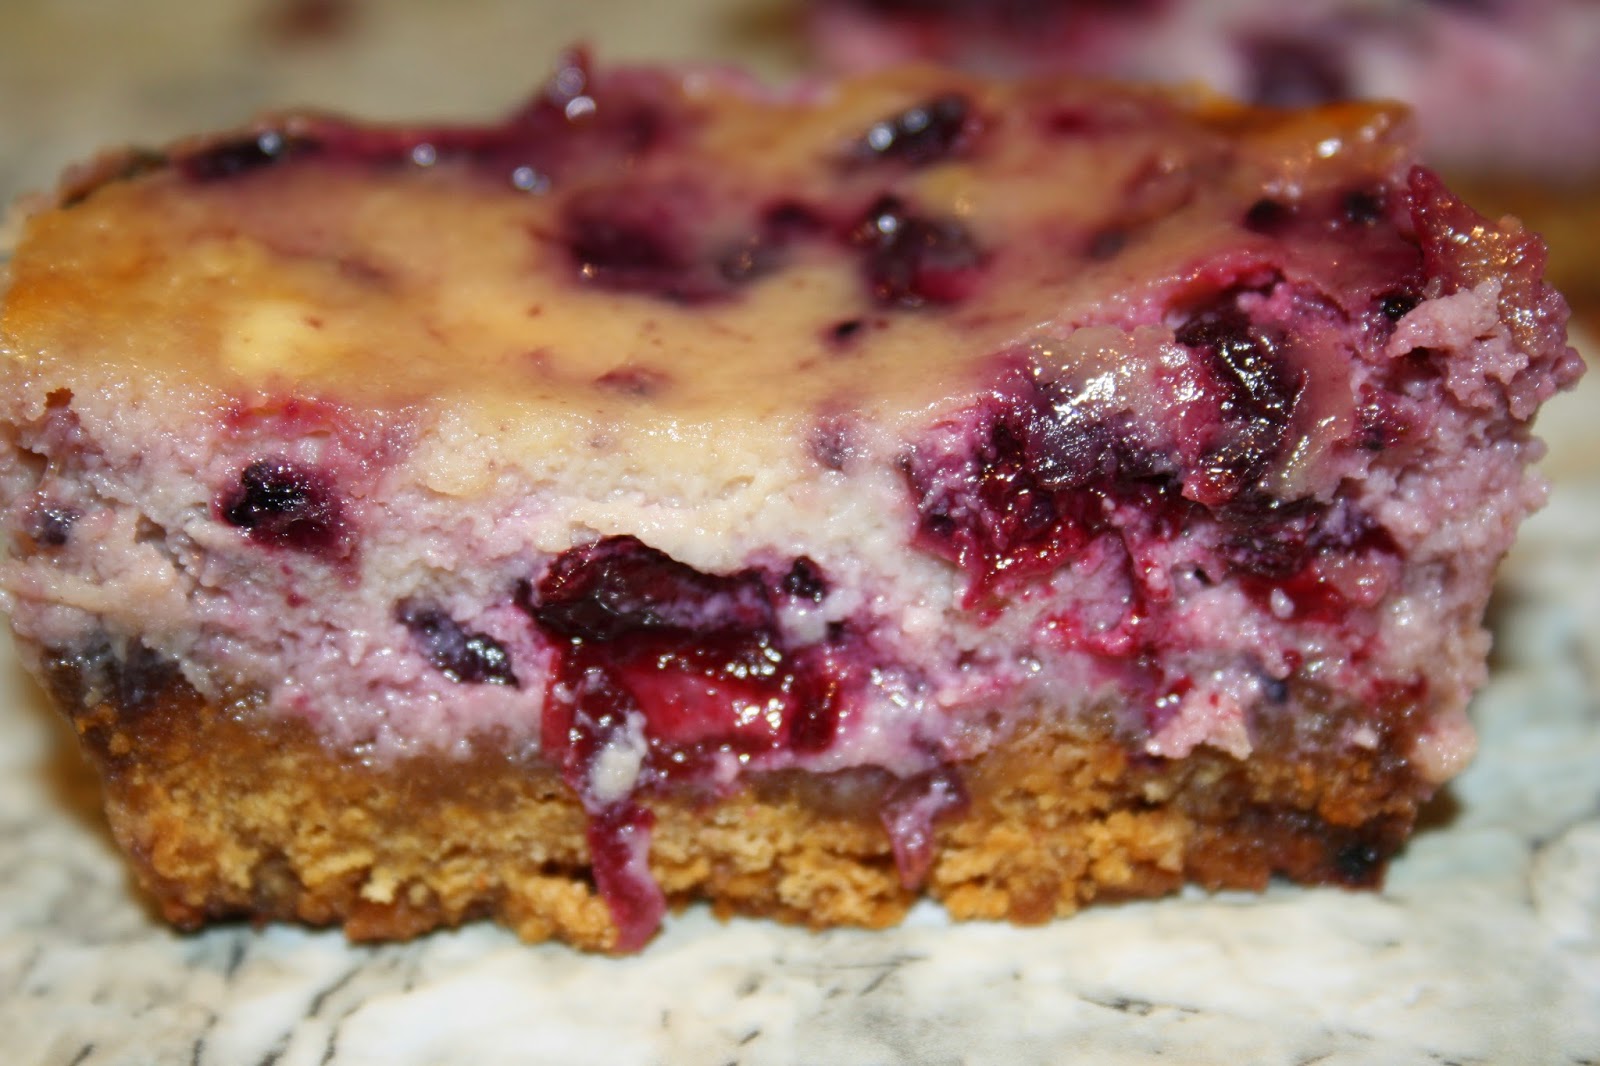
Inside the cheesecake

mustard blackcurrant cheesecake